
Newer knowledge bases have the required reading flag added to your articles by default. Use these instructions if your knowledge base was created before 5 October 2023 or if you'd like to move where the required reading flag appears in your article. If your knowledge base layout displays content in the right column, refer to the instructions in Add the Required Reading flag to your Right Column template instead.
The required reading flag displays near the top of a required article. The default text reads: "This article is required to read." Once a reader acknowledges that they've read the article, this flag updates to read "Acknowledged." Here are samples of each default state:
 Sample required reading flag for required unacknowledged article
 Sample required reading flag for an acknowledged required article
To add the required reading flag to your articles:
- Go to Customize > Style (HTML & CSS).
- In the Customize HTML, CSS, and JS section, select Custom HTML.
- Select Article from the Select HTML section to edit dropdown.
- Copy the merge code below. (You can also find the merge code by clicking the -- Select a Merge Code -- dropdown, go to the Article Merge Codes section, and select Required Reading Flag.)
[article("required_reading_flag")] - Paste the merge code into the article template wherever you'd like this flag to appear. Refer to Placement options below for more detailed instructions on different layouts.
- Save your changes.
Placement options
Here are some of the most popular placements and how to achieve them.
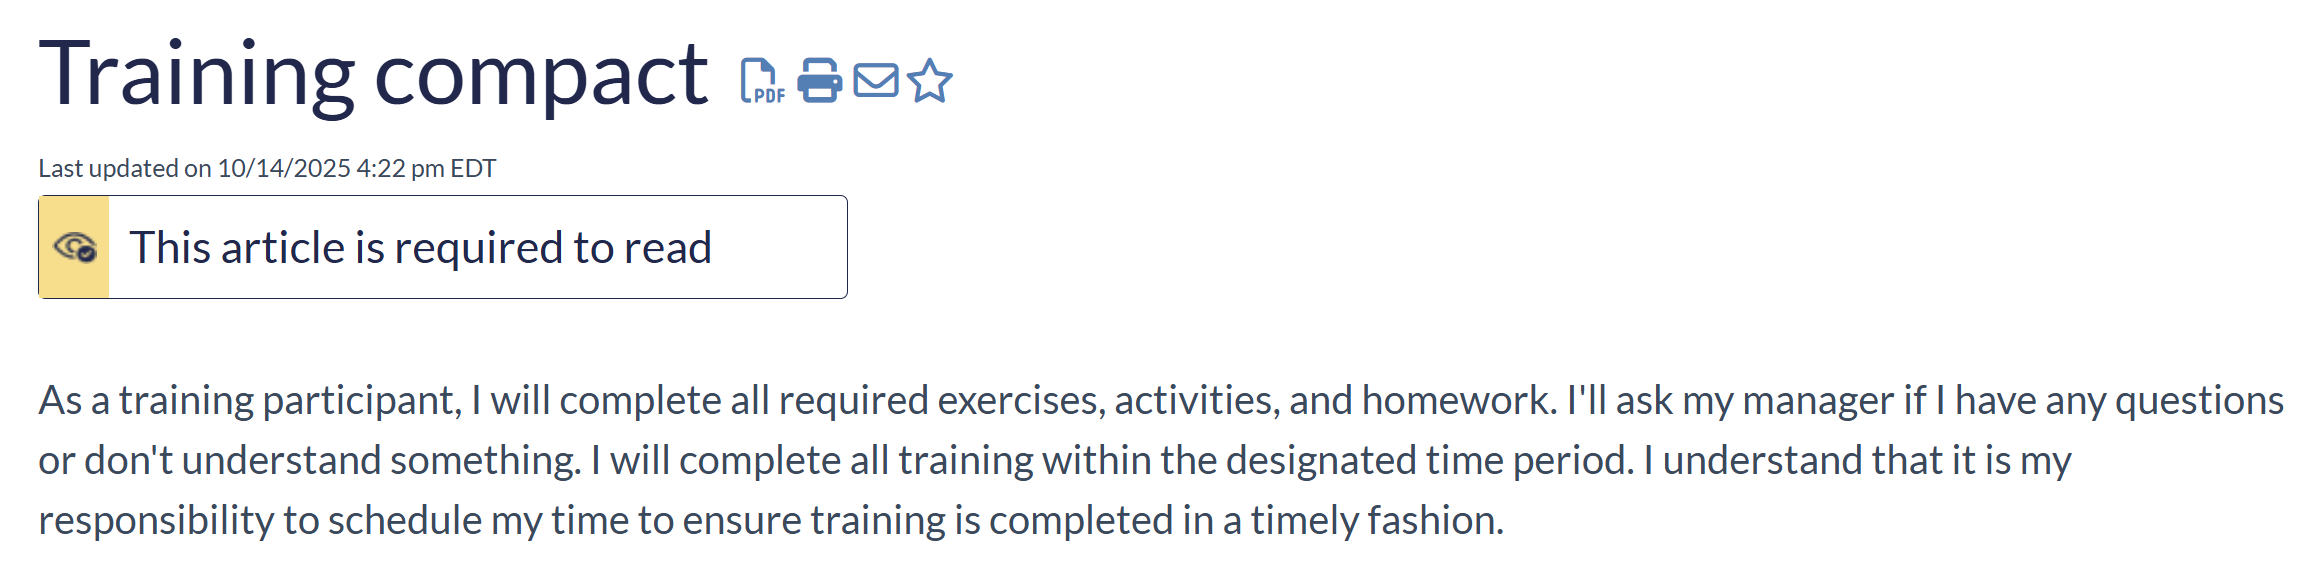
Next to the Last modified statement (default)
You can display the required reading flag in the same line next to the "Last modified on..." statement. This is the default placement we use for new knowledge bases:
 Sample placement next to Last modified statement
For this placement, add the required reading flag merge code into the existing <div class="metadata"> row, as shown in this code sample, row 4:
<div class="hg-article">
    <div class="hg-article-header">
        <h1 class="hg-article-title">[article("title")][article("action_icons")]</h1>
        <div class="metadata">[article("required_reading_flag")][translation("article:last-modified-on-label")] [article("date_modified")]</div>
    </div>
Above the article title
You can display the required reading flag above the article title, like this:
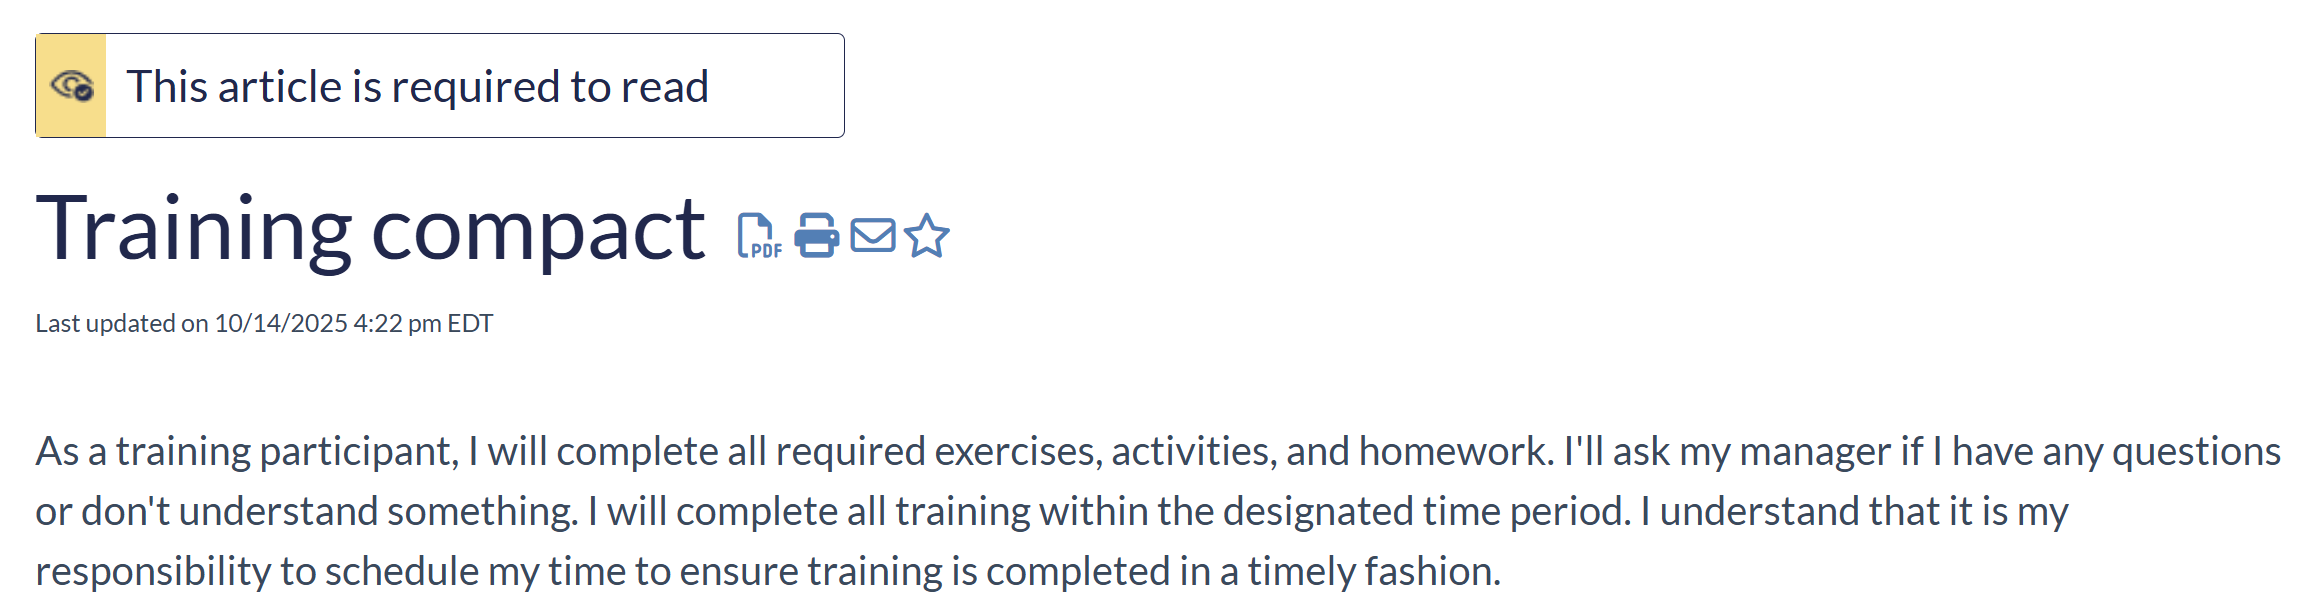 Sample placement above article title
For this placement, add the required reading flag merge code on a new line above the <h1 class="hg-article-title">, as shown in this code sample, row 3:
<div class="hg-article">
    <div class="hg-article-header">
    [article("required_reading_flag")]
        <h1 class="hg-article-title">[article("title")][article("action_icons")]</h1>
Below the article title
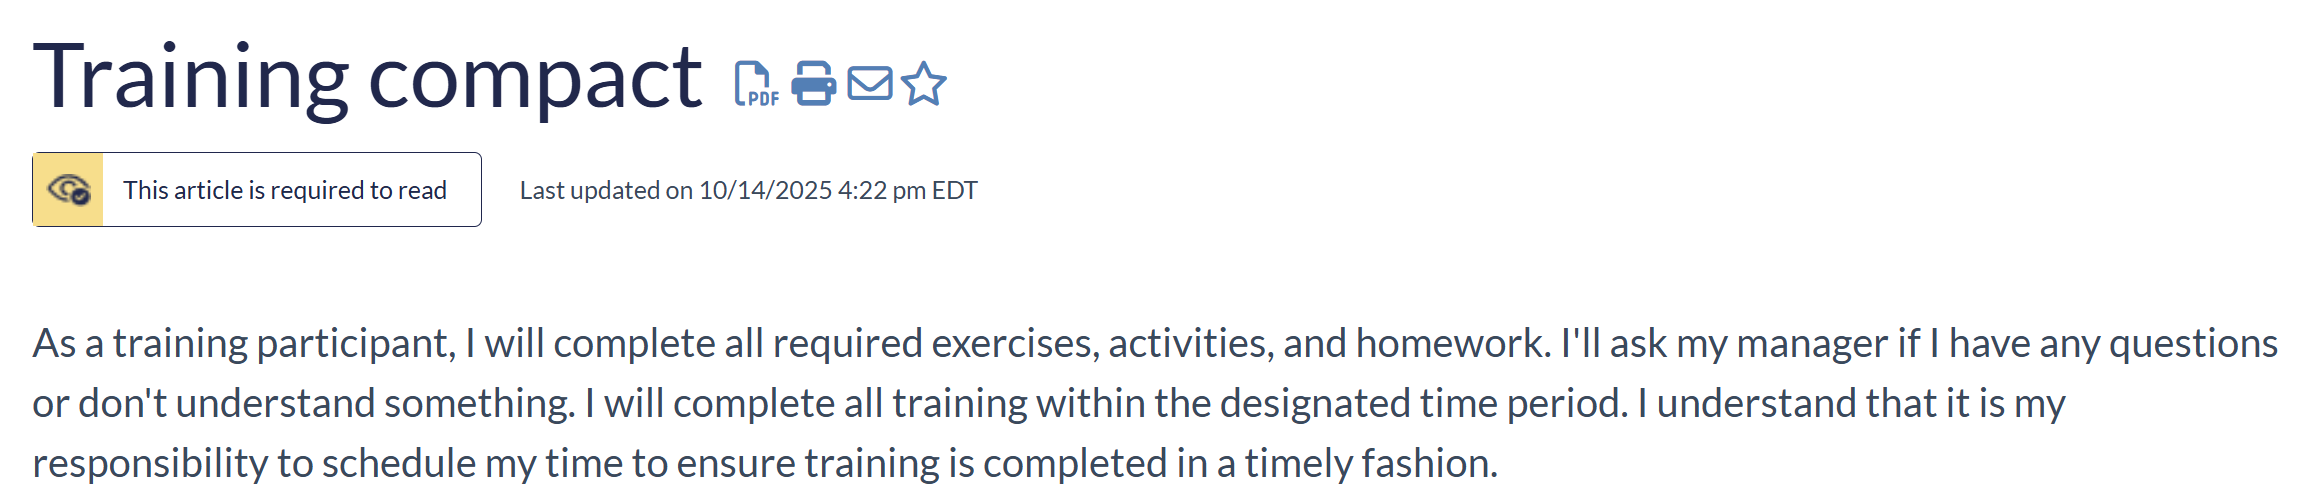
You can display the required reading flag below the article title and above the "Last modified on..." statement:
 Sample placement below article title
For this placement, add the required reading flag merge code on a new line below the <h1 class="hg-article-title">, as shown in this code sample, row 4:
<div class="hg-article">
<div class="hg-article-header">
<h1 class="hg-article-title">[article("title")][article("action_icons")]</h1>
[article("required_reading_flag")]
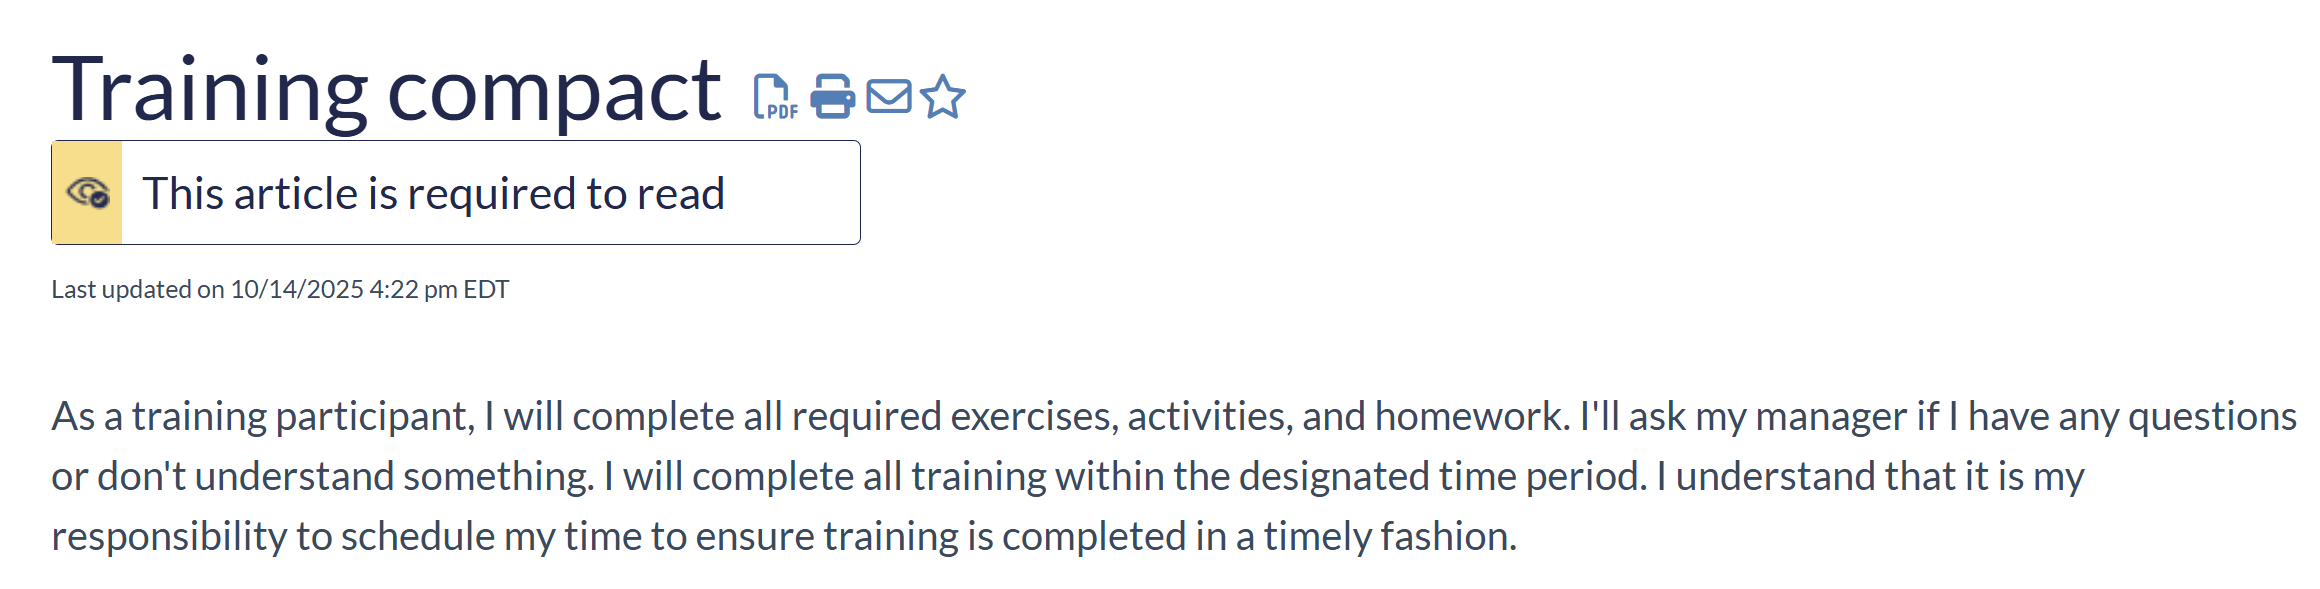
<div class="metadata">[translation("article:last-modified-on-label")]Below the Last modified statement
You can display the required reading flag below the "Last modified on..." statement, directly above your article content, like this:
 Sample placement below Last modified on statement
For this placement, add the required reading flag merge code onto a new line directly after the <div class="metadata">, as shown in this code sample, row 5:
<div class="hg-article">
    <div class="hg-article-header">
        <h1 class="hg-article-title">[article("title")][article("action_icons")]</h1>
        <div class="metadata">[translation("article:last-modified-on-label")] [article("date_modified")]</div>
        [article("required_reading_flag")]
    </div>