
You may want to add a banner or announcement to your homepage to draw attention to outages, changes in policy/procedure, or to highlight certain content. There are a number of ways to do this, but here we'll use a fairly straightforward approach: using your knowledge base's existing div styles (Alert Danger, Alert Info, Alert Success, Alert Warning, or Well).
This can get you a very quick announcement on your homepage without a lot of work, and will get you something like this:
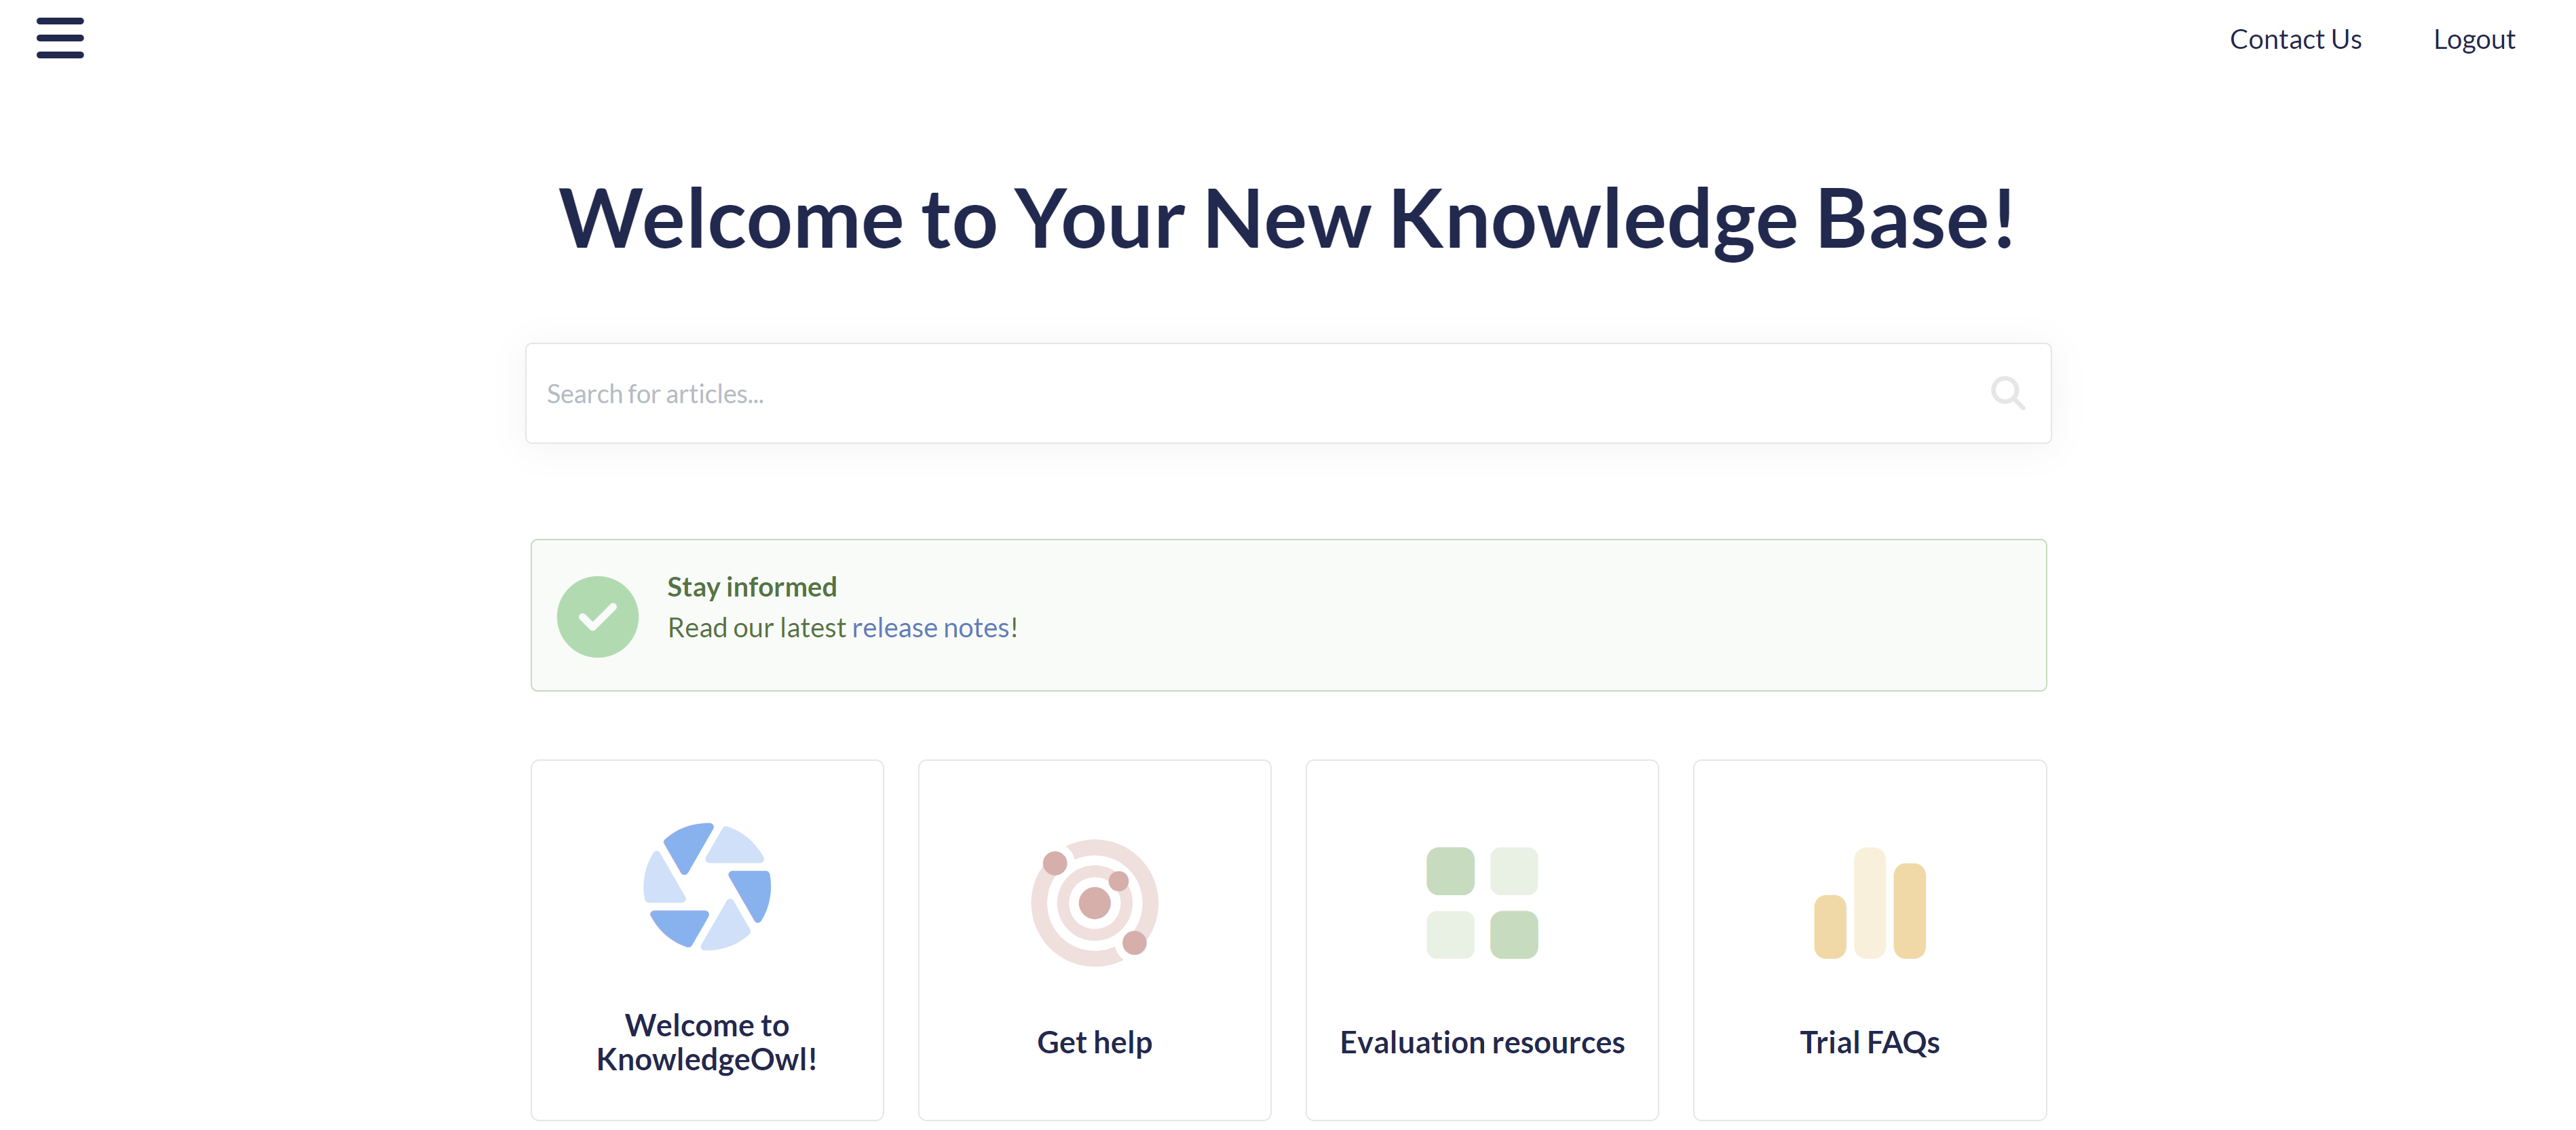 Sample announcement div for our release notes
There are three different ways you can create this callout, from simplest to most complicated:
- Create your alert div in Customize > Homepage. You may need to adjust where your Homepage body text displays, but this lets you use the Homepage WYSIWYG to create your alert div and requires basically no knowledge of working with raw HTML. Refer to the Customize Homepage alert instructions below.
- Create your alert div in an article editor, copy the code for it, and add it directly to Customize > Style > Custom HTML > Homepage. Use this option if Customize > Homepage already has text in it. Refer to the Custom Homepage HTML template instructions below.
- Create your own fully customized div in Customize > Style > Custom HTML > Homepage.
Customize Homepage alert
If you're new to KnowledgeOwl, this set of steps is usually the fastest to get started with.
- Go to Customize > Homepage.
- Make sure there's no content in the Homepage content > Custom content editor.
- Use the Div Style (magic wand) dropdown in the editor to insert the alert div style you'd like to use. Then use normal editor controls to add text, hyperlinks, and formatting as you'd like.
- Use Preview to make sure it's formatting how you like. If it's not showing up in the section you want, don't worry--we'll fix that next!
- Be sure to Save your changes.
New knowledge bases will likely display the Homepage content editor contents between the search bar and the category icon panels on the homepage. To move that section somewhere else in your homepage:
- Go to Customize > Style (HTML & CSS).
- In the Customize HTML, CSS, and JS section, select Custom HTML.
- Select Homepage from the Select HTML section to edit dropdown.
- Your alert div will appear wherever
<div>[homepage("body")]</div>appears, which is usually placed just above the icon-cats template. To move it, highlight the full div to select it, cut it, then paste it in where you'd like. - Save your changes.
For example, the default Homepage Custom HTML template places the merge code on row 7, just above the template for the icon categories:
If we wanted to place our alert above the search bar, we'd paste our code into row 3 and bump everything down, like this:
<div class="ko-homepage-top">
    <h1 class="hg-article-title xcolor">[homepage("title")]</h1>
    <div>[homepage("body")]</div>
    [template("large-search")]
</div>
<div class="hg-article">
    <div class="hg-article-body">
        <div>[template("icon-cats,max=8,col=4,desc=0")]</div>
Custom Homepage HTML template
Use these instructions if Customize > Homepage already has text in it. Here, we follow a two-step process:
- Create the alert div in an article editor and then copy the HTML for that div. Refer to Step 1: Create your div for detailed instructions.
- Add that HTML to Customize > Style > Custom HTML > Homepage. Refer to Step 2: Add to your homepage for detailed instructions.
Step 1: Create your div
First things first: use the article editor to create and style the div we want to use.
- Open an article in edit mode. We find it easier to create a new article for this so it's empty of any other code, but do whatever you feel comfortable with.
- In the editor controls, select the magic wand next to the text formatting controls to view Div Style:
 Built-in Div styles
 - Select the div style you want.
- With your div added to the editor, type whatever text and use the regular editor controls to insert hyperlinks and other formatting.
- Then, select the </> Code View button in the editor to switch to Code View.
 The Code View button
 - Copy the HTML code for the div you created. For example, mine looks like this:
<div class="alert alert-success">
    <p><strong>Stay informed</strong>
        <br>Read our latest <a href="/help/release-notes">release notes</a>!</p>
</div>
Step 2: Add to your homepage
Congratulations, you now have a fully-formed div in HTML format! Now we'll add this into the homepage itself:
- Go to Customize > Style (HTML & CSS).
- In the Customize HTML, CSS, and JS section, select Custom HTML.
- Select Homepage from the Select HTML section to edit dropdown.
- This page is going to look a bit different depending on how you've customized your knowledge base, so you may need to play with positioning a bit to get the look you want.
- For our standard layout, most often we see people put an announcement banner below the search bar and above the category panels, so that's what we'll do in this example.
- To add the banner here, look for the
<div class="hg-article-body>. - Add a new line between the hg-article-body div and the icon-cats template (or the homepage body template if that comes first in your Homepage HTML).
- Paste your HTML onto that line.
- So the Custom HTML should now look a little like this, with the new div at rows 7-10 (though your div is probably a bit different!):
<div class="ko-homepage-top"> <h1 class="hg-article-title xcolor">[homepage("title")]</h1> [template("large-search")] </div> <div class="hg-article"> <div class="hg-article-body"> <div class="alert alert-success"> <p><strong>Stay informed</strong> <br>Read our latest <a href="/help/release-notes">release notes</a>!</p> </div> <div>[template("icon-cats,max=8,col=4,desc=0")]</div> <div>[homepage("body")]</div> <div class="homepage-widgets row"> <div class="col-md-4 col-sm-6"><h3>[translation("article-lists:popular-articles")]</h3>[template("pop-articles")]</div> <div class="col-md-4 col-sm-6"><h3>[translation("article-lists:new-articles-heading")]</h3>[template("new-articles")]</div> <div class="col-md-4 col-sm-6"><h3>[translation("article-lists:updated-articles")]</h3>[template("up-articles")]</div> </div> </div> </div> - You can Preview your changes to be sure they look good. If you're comfortable with HTML, you can make tweaks here, or head back to the article editor to re-create your div.
- Once you like the look of it, be sure to Save your changes.
Roll your own
If you have some HTML skills, you can also design your own div rather than using the default alert styles.
To do this, you can create the div in Customize > Website or directly in Customize > Style > Custom HTML > Homepage. Set the background color, padding, any image or icon you want to use, etc. So, for example, this code:
<div style="background-color: #a5edef; color: #7f0707; padding: 15px; margin-bottom: 20px; border: 1px solid transparent; border-radius: 4px; text-align: center;">
    <img src="https://dyzz9obi78pm5.cloudfront.net/app/image/id/5e5d6e4c8e121c80424f245f/n/lightbulb-linus200px.png" style="max-height: 50px;" class="fr-fic fr-dii">Read our latest <a href="/help/release-notes">Release Notes</a>.
</div>
Produces this:
 Read our latest Release Notes.
If you get stuck, contact us--our support owls would be happy to help you get your alert div looking just right.
Formatting your div
For simplicity's sake, we used in-line styles in the HTML example here. You can always use a custom class and Custom CSS.