Reader Groups

Where can you set reader groups?

You can specify reader group restrictions in:

You'll see the option to "Restrict to Groups" or "Restrict to Reader Groups" in the editor for each of these.

How do reader groups work?

We're often asked if it's possible to have content for different readers in the same knowledge base. For example, maybe you have both internal support documentation as well as customer-facing product documentation in the same knowledge base. Or, you might have a knowledge base that contains categories for different departments or teams in your organization.

If you'd like to segregate content--or display different content to different readers--you can do this by using Reader Groups and the Restrict to Groups option in the content itself.

There are three basic steps in this process:

Let's say I have a category of documentation called KO Product Support, and that category is restricted to a reader group called KO support.

If I'm a member of KO support, I'll see this content in the table of contents, search, etc.

If I'm not a member of KO support:

  • I won't see the KO Product Support category in the table of contents or on the home page
  • If I type to search, the typeahead search won't show me any of the articles in KO Product Support
  • If I complete a full search, the search results won't show me any of the articles in KO Product Support
  • If someone gives me the direct link to an article in KO Product Support, I'll only see a message that I don't have access to that content

In short, the content isn't something I can find or discover on my own, and even with a direct link, I can't access it.

Can I set reader group restrictions for an entire category?

Yes! If you restrict a category to certain groups, all of that category's content (subcategories + articles) will automatically inherit the reader group restrictions you set. We call these Inherited Restrictions. Any reader groups that an article or subcategory is inheriting are shown in the Inherited Restrictions section.

There's also an up arrow icon in the Restrict to Groups list to identify inherited groups:

The up arrow after the group name indicates this is an Inherited Group

If you're using inherited reader groups and topic articles, you may need to specifically check the boxes in the Add More Restrictions section to have topic articles display in PDFs. See Reuse an article within another article for more information.

Can I override restrictions inherited from a category?

No. You can add additional groups in the Add More Restrictions section, but you can't remove any of the inherited groups.

If you do add a group in the Add More Restrictions section, a reader must belong to that group as well as the Inherited Restrictions group. See the following section for more information on that behavior!

If an article or category has multiple group restrictions selected, what happens?

The short answer is: it's a little complicated.

You might have multiple groups selected by:

  1. Having multiple groups displayed in the Inherited Restrictions section
  2. Having multiple checkboxes selected in the Restrict to Groups section
  3. Having one or more groups in the Inherited Restrictions AND the Add More Restrictions section

For the first two scenarios, the behavior depends on your knowledge base's Reader Group Logic settings. You can check or update the Reader Group Logic by going to Settings > Security and checking the Reader Options section:

Two Reader Group Logic options are supported: Inclusive and Exclusive.

Inclusive is the KnowledgeOwl default.
  • Inclusive: Readers can see content when they belong to at least one designated group (multiple groups are treated like an "or")
    • Example: An article is restricted to groups "Apples" and "Bananas".
      • Reader in Apples group only: sees the article
      • Reader in Bananas group only: sees the article
      • Reader in both Apples and Bananas group: sees the article
      • Reader in the Pineapples group: won't see the article
  • Exclusive:
    • Example: An article is restricted to groups "Apples" and "Bananas".
      • Reader in Apples group only: won't see the article
      • Reader in Bananas group only: won't see the article
      • Reader in both Apples and Bananas group: sees the article
      • Reader in the Pineapples group: won't see the article

For the third scenario:

  • Having one or more groups in the Inherited Restrictions AND the Add More Restrictions section

The Inclusive/Exclusive logic still applies within each of those sections, but the sections combined are treated as a combination: a reader must belong to at least one of the Inherited Restrictions groups AND one of the Add More Restrictions groups.

Example: An article has Inherited Restrictions for the Administrator group and has the KO Product Support group checked in the Add More Restrictions section:

  • Reader in Administrator group only: won't see article
  • Reader in KO Product Support group only: won't see article
  • Reader in both Administrator and KO Product Support groups: sees the article
  • Reader in KO Product Support and HR groups: won't see the article

Create a reader group

Reader groups allow you to show content only to members of the specified groups; they can be great for showing things to different customer types, internal vs. external readers, and more!

You must have either Full Admin privileges or Admin access to readers so see this option. If you don't see the Readers option, contact your knowledge base administrator.

To create a reader group:

  1. Click on your profile icon/name in the upper right.
  2. Select Readers from the dropdown to access the Readers area of your account.
  3. Open the Groups tab.
  4. Select the Add Group button.
    Click the Groups tab and the + Add Group button
  5. This will open the Create Reader Group pop-up where you can configure the group.
  6. Type the Group Name you'd like to use.
  7. The KO only reader group checkbox determines how to handle this reader group if you're using Single Sign-On (SSO). (This is mainly relevant if you are passing reader groups over as part of your SSO integration through either Direct Reader Attribute Map or Custom Attribute Map rules.) Specifically, this checkbox determines whether SSO should be able to override/add/remove readers to this group:
    1. if the box is checked, SSO can't control group membership. You'll need to manually add or remove readers from the group.
    2. If the box is unchecked, SSO will control and override group membership. This means that even if you manually add or remove readers from the group, SSO will override your changes to match what it has stored for their groups.
    3. If you aren't using SSO, the box doesn't really change anything, since you'd still be manually administering group membership!
  8. Once you've finished configuring the group's name and deciding whether SSO can control its membership, select Create Group to finish creating the group.
    Enter the group name and click Create Group

Congratulations, your group is now created! You can assign readers to it (if SSO isn't doing so), and/or restrict categories and articles to your group(s)!

To change the order your reader groups are displayed in, use the arrows to the right of the group name:

Reorder the groups using the arrow to the right

Display content only to specific readers

You can restrict some content so that it is only visible to specific readers. To do so, create a reader group or groups and then restrict the category or individual articles to that group.

Restrictions can be set:

  • At the category level: restrictions set in the Restrict to Groups section will automatically be inherited by all subcategories and articles in the category.
    • Groups inherited from a category are identified in the Inherited Restrictions section of the editor.
    • By default, articles and subcategories are set to "Use Inherited Only" (they will only use the groups they've inherited from the category).
    • You can add additional groups to individual subcategories and articles by using the Add More Restrictions checkboxes within those pages.
  • At the article level: if an article has no inherited restrictions: restrictions set in the Restrict to Groups section apply only to the individual article and don't impact other articles or categories in any way.
    • If an article has inherited restrictions: by default it is set to "Use Inherited Only", but you may Add More Restrictions to require additional group membership to view the article. Add More Restrictions selections don't impact other articles or categories in any way.

Restrict access based on Reader Groups

  1. If you do not have your reader groups set up, you will need to set them up by following these instructions
  2. Create a new category or article (or edit an existing one by clicking on the wrench icon to the right of any content) inside Knowledge Base > Articles.
  3. If the category or article has "None" in the Inherited Restrictions section of the editor:
    • Use the checkboxes under Restrict to Groups in the righthand column to set which groups can see this content. This section looks a little different in the category editor compared to the article editor, but the functionality is the same:
      Sample Restrict to Groups section in the article editor; groups will vary based on your setup
      Sample Restrict to Groups section in the category editor; groups will vary based on your setup
  4. If the category or article has groups listed in the Inherited Restrictions section of the editor:
    • Use the checkboxes to Add More Restrictions to the the content. Readers will have to belong to at least one of these additional groups AND at least one of the inherited groups (possibly more, depending on your knowledge base logic; see How do reader groups work? for more info).
      Sample Add More Restrictions section in the article editor
      Sample Add More Restrictions section in the category editor
  5. Click Save

For more information on how reader group work and what happens when you restrict to multiple reader groups, see How do reader groups work?


Test reader group access

Once you've set up reader groups, it's helpful to test what different reader groups will see.

You have two options to test:

  1. As an author, using the Change Reader Groups option in your admin footer
  2. Logging in as a specific reader

Change Reader Groups in admin footer

As an author, you can simulate membership in different groups to test them:

  1. From app.knowledgeowl.com, click the View KB button in the top navigation or the View Article or View Category links in the editor.
  2. This will open the knowledge base with the admin footer displayed. Click on the Change Reader Groups option in the footer:
  3. This will open a pop-up where you can use checkboxes to select the reader group(s) you'd like to simulate:
  4. Make your selections and click the Change Reader Groups button.

You're now viewing the knowledge base as a member of the reader group(s) you selected. You can reopen the Change Reader Groups dialog at any time to continue to switch between groups.

Testing as an individual reader

Of course, you can also create or use an existing reader's account (or assign yourself to a specific reader group) to test reader group permissions. Generally the Change Reader Groups option is ideal for testing general reader group permissions, and logging in as an individual reader might be more useful for testing to be sure you've assigned the correct reader groups to that individual reader.

In most cases, you should be able to log out and then login as a specific reader to test. However, there are some cases where you might not have a logout link. If that's the case:

  1. Go to your knowledge base home page. The URL should end in "/help", "/home", or "/docs".
  2. Append "/readerlogout" to the end of the URL. The URL should now end in "/help/readerlogout", "/home/readerlogout", or "/docs/readerlogout"
  3. Hit enter (or return) to go to this new URL.
  4. Log in to your help site with the reader you wish to test.

Auto-assign groups by email rules

If you have reader sign-ups enabled, by default, new reader signups aren't assigned any reader groups. You can create rules to automatically assign readers to groups based on their email domain.

A common use case is to assign all readers with internal email addresses to an internal reader group. For example, Linus likes having a rule that will assign all readers with a knowledgeowl.com email address to the Support reader group, which gives them access to all content restricted to our Support group.

If you're using reader signup, this can help guarantee that new readers get access to the content they need without a KnowledgeOwl admin having to manually review and assign them to the appropriate groups.

These rules currently apply to readers who have signed up for access to your knowledge base only. They do not apply to:
  • Reader accounts that you or another KO admin manually creates in your profile icon/name > Readers (singly or in bulk)
  • Readers who come through remote authentication or any of our SSO integrations. If you are using SSO, see Auto-Assign Groups By Email Rules (SSO Edition) for SSO-specific steps!

To set up Email Rules:
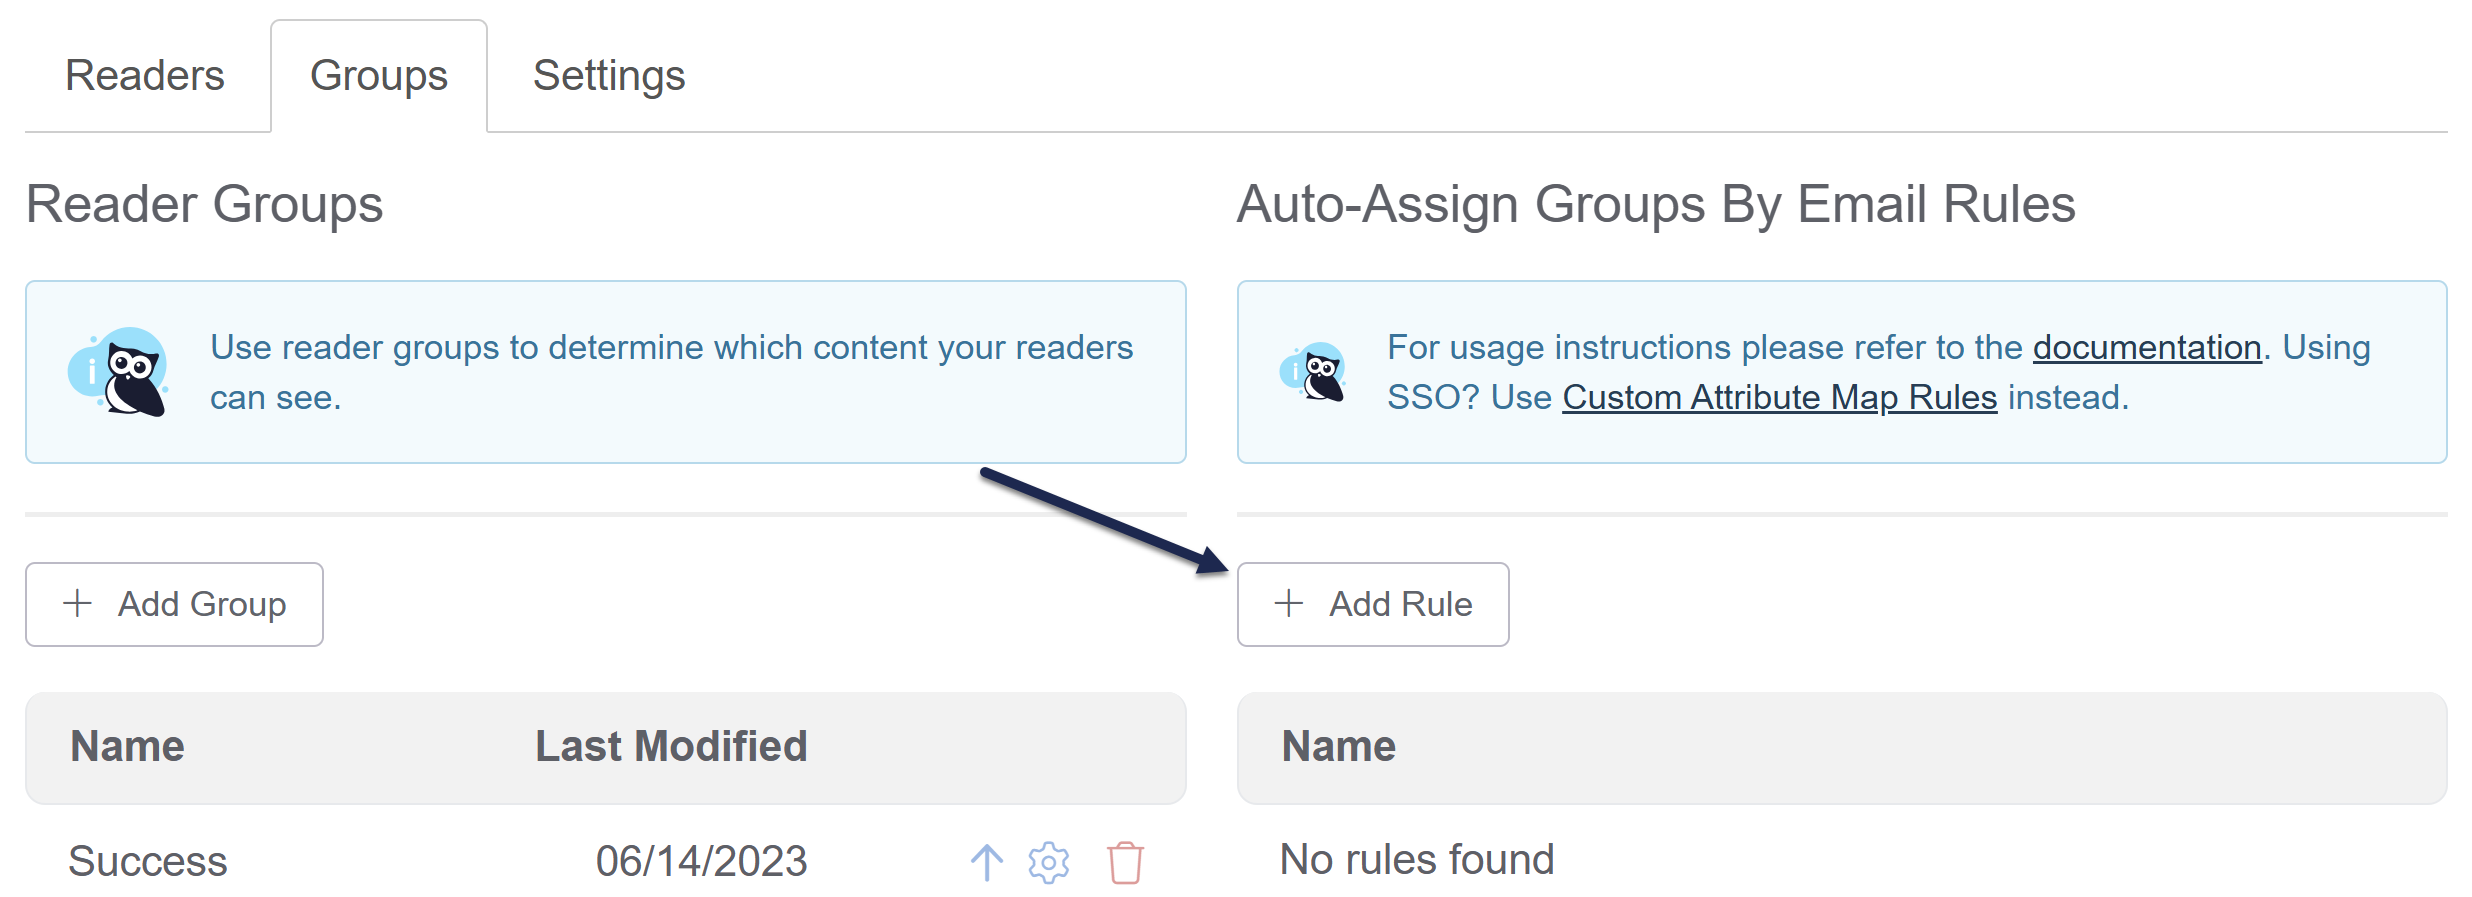
  1. Click on your profile icon/name in the upper right.
  2. Select Readers from the dropdown to access the Readers area of your account.
  3. Open the Groups tab.
  4. Select the + Add Rule button.
    Click the + Add Rule button
  5. This will open the Auto-Assign Groups By Email Rule pop-up. To set up your rule, include:
    The Auto-Assign Groups by Email Rule pop-up
    1. A Rule Name. This name will appear in the Auto-Assign Groups by Email Rules in Readers > Groups, so it should help describe the rule.
    2. The Email Domain the rule applies to: all readers with this email domain will have this rule applied. It must be an entire domain (such as @knowledgeowl.com, @gmail.com, @yourcompany.com, etc.).
    3. Use the Assign to Groups checkboxes to select the Reader Group(s) that people with that email domain should be assigned to. This list depends on the Reader Groups you've set up in your knowledge base.
  6. Click Save Rule to save your changes. Here, we create a rule that will assign all readers with an @knowledgeowl.com email address to the Support group:
    Sample rule which will assign all readers with an @knowledgeowl.com email address to the Support group
  7. Your rule will now appear in the Auto-Assign Groups by Email Rules section of Readers > Groups and will be applied to all reader signups from here on out. You can edit it (gear icon) or delete it (trashcan icon) using the icons to the right of the rule.
    Sample rule added to Auto-Assign Groups By Email Rules

By default, rules will only be applied when a new reader first signs up.

To run the rules on subsequent logins and allow rules to affect existing readers, choose "Override reader groups based on rule logic on each login" under Readers  > Settings. (Note that changing this setting, though, will override any manually-assigned reader groups for readers in the rule domains, though. We don't recommend using this setting if you're using auto-assigned rules in conjunction with manually-assigned groups!)

Checking if an article or category is restricted to reader groups

For both articles and categories, you can check two sections of the editor to see if the content is restricted to any reader groups:

  1. Restrict to Groups: These checkboxes are for group restrictions assigned to the particular category or article you're looking at in the editor when no Inherited Restrictions are present.
    • Checking or unchecking these boxes will immediately change which groups can see this content.
      Sample Restrict to Groups section with no Inherited restrictions. This article will be restricted to members of the KO Product Support group
  2. Inherited Restrictions: When an entire category or subcategory is restricted to groups, those reader group restrictions are "inherited" by the content in that category. Any groups listed in the Inherited Restrictions section are being inherited by one or more parent categories. You'd want to check each parent category above the current content to see where those groups are being set.
    • Inherited group restrictions must be changed in the parent category where they are set. They cannot be changed in individual articles.
      Inherited Restrictions cannot be removed from this content; look at the parent categories to adjust these groups!
  3. Add More Restrictions: If an article or category has Inherited Restrictions, the section below will be called Add More Restrictions. It will default to "Use Inherited Only." Additional groups checked here mean that a reader must be a member of at least one of these groups in addition to the Inherited Restrictions groups.
    • Groups that are "inherited" will also have an up arrow icon next to them. Unchecking a box next to an inherited group restriction will not remove the inherited restriction.

For articles, you can also see both of these fields in the Manage Articles CSV export:

Manage Articles CSV export options

Display different logos for different reader groups

Some knowledge bases use different Reader Groups to show different content to different readers.

On occasion, we've been asked if it's possible to show a different logo in the upper left depending on reader group membership. The short answer is: yes.

The longer answer is: you'll need to use a script to do this.

To do so:

  1. Go to Library > Files.
  2. Upload all the logos you want to use here, using the + Add Files button.
  3. Once you've uploaded your logos, you'll need to get the URL for each of them. See Find a file's URL for more complete steps. As you copy each URL, save it to a text editor--we'll need it later!
  4. Go to Settings > Style.
  5. Below the Preview Pane, be sure that Custom HTML is selected.
  6. In the Custom HTML dropdown, be sure Body is selected.
  7. Copy the code below and paste it into the bottom of the Body editor. Here, we use three groups, but you can use as few as two and as many as you'd like.
    <script>
      //Show different logos depending on which reader group a reader belongs to
      $(function(){
        //Get which groups current reader belongs to
        var groups = '[reader("groups")]';
        
        //Switch logo for Group1 where "Group1" is the exact name of the reader group. Update to your group name.
        if(groups.indexOf("Group1") >= 0)
        {
          //Specify the image URL for Group1 and switch
             var src = "//dyzz9obi78pm5.cloudfront.net/app/image/id/{yourimageid}/n/{yourimagename.png}";
             $('.navbar-brand img').attr("src", src);
        }
        
        //Switch logo for Group2 where "Group2" is the exact name of the reader group. Update to your group name.
        if(groups.indexOf("Group2") >= 0)
        {
          //Specify the image URL for Group2 and switch
             var src = "//dyzz9obi78pm5.cloudfront.net/app/image/id/{yourimageid}/n/{yourimagename.png}";
             $('.navbar-brand img').attr("src", src);
        }
        
        //Switch logo for Group3 where "Group3" is the exact name of the reader group. Update to your group name.
        if(groups.indexOf("Group3") >= 0)
        {
          //Specify the image URL for Group3 and switch
             var src = "//dyzz9obi78pm5.cloudfront.net/app/image/id/{yourimageid}/n/{yourimagename.png}";
             $('.navbar-brand img').attr("src", src);
        }
        
      });
    </script>
  8. In row 7, replace "Group1" with the exact name of your first reader group, as it appears in Your Account > Readers > Groups.
  9. In row 10, replace the URL listed in "quotes" with the URL you copied from your File Library for the icon you'd like displayed for this group.
  10. In row 15, replace "Group 2" with the exact name of your second reader group, as it appears in Your Account > Readers > Groups.
  11. In row 18, replace the URL listed in "quotes" with the URL you copied from your File Library for the icon you'd like displayed for this group.
  12. If you're using a third group, in row  23, replace "Group3" with the exact name of your second reader group, as it appears in Your Account > Readers > Groups, and replace the file URL in row 26. If you're not using a third group, you can delete rows 22-28.
  13. If you're using more than three groups, you can copy rows 22-28 and paste them to add additional groups. Just be sure you update the group name in each and the URL of the file.
  14. Once you're done, be sure to Save your changes.

For example, here we have two groups called "Support" and "Production":

You can test that this script is working as expected by selecting "View KB" from the top navigation. This will open your knowledge base with the author footer, and you can use the Change Reader Groups option to toggle to see what each group will see. See Test reader group access for complete steps!

Delete a reader group

Authors with Full Admin access can delete reader groups.

When you delete a reader group, that group will be removed from:

  • All readers who were assigned to it
  • Any authors who were explicitly assigned to it
  • Any content that had been restricted to it (inherited or in the Restrict to Groups section)
Deleted reader group restrictions and assignments are NOT RECOVERABLE by our support team, so please be absolutely sure you're ready to delete a group!

To delete a group:

  1. Click on your profile icon/name in the upper right.
  2. Select Readers from the dropdown to access the Readers area of your account.
  3. Open the Groups tab.
  4. Click the trashcan icon to the right of the group you want to delete.
  5. This will open the Reader Group Delete confirmation pop-up.
  6. Verify that the group name it lists is the group you wish to delete. (Incorrectly deleted groups and all their restrictions/members CANNOT be recovered.)
  7. If the group name matches the group you wish to delete, click OK to complete the deletion.
  8. The group will disappear immediately from all Reader Group lists, and background processes will run to remove it from any readers, authors, or content where it was used.