
Favicon overview
A favicon is the tiny image that appears to the left of website names in browser tabs. Here is an example:  Sample favicon
If you're interested in learning more about them, refer to the favicon Wikipedia article.
Sample favicon
If you're interested in learning more about them, refer to the favicon Wikipedia article.
By default, when readers view your knowledge base, their browser displays a document favicon like this:
 Default favicon in your knowledge base
You can change this to be any icon you'd like!
Change your favicon
To change the favicon displayed when someone views your knowledge base, you'll need an .ico, .png, or .gif file of the image you'd like to use. We recommend using an .ico or .png file, as .gifs generally don't display as well as you want them to. 😉
If you don't have an existing file, there are a number of Favicon Generators and instructions online on how to create your own. Get creative!
File size
Most favicon generators suggest a 100px x 100px image or icon. We recommend 32px x 32px, but the main point is to have something that's square and small.
Once you have your file:
- Go to Customize > Style (HTML & CSS).
- In the left menu, select Favicon so the section expands.
- Select Update Favicon.
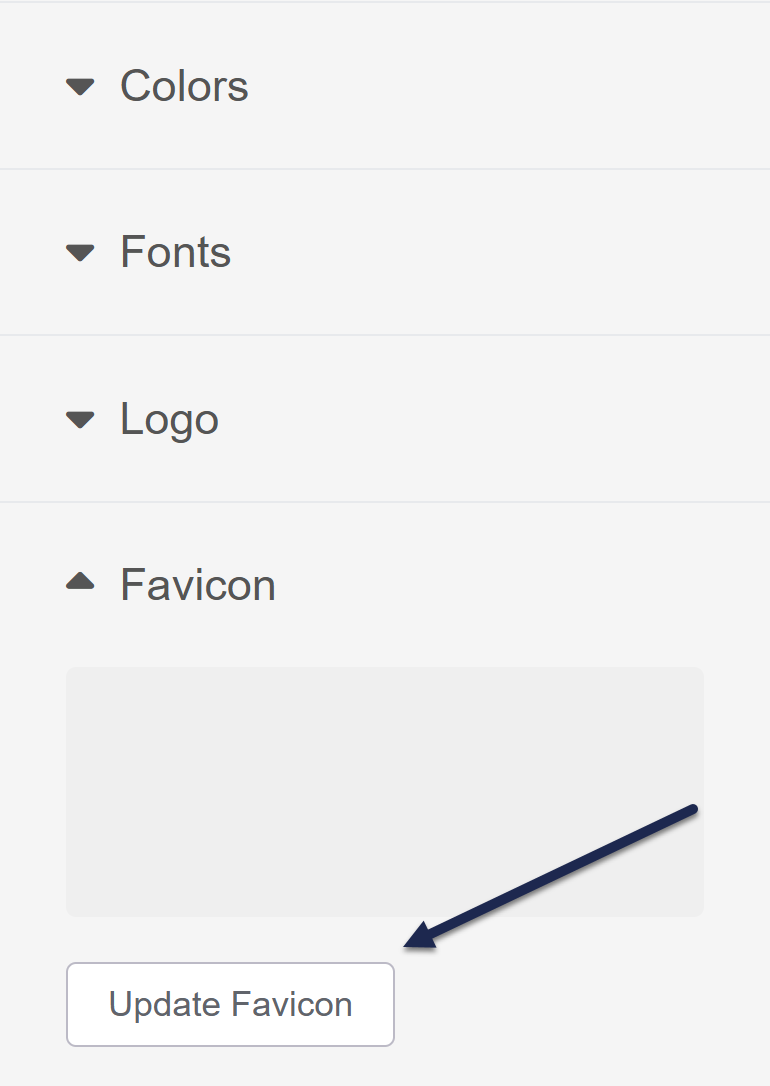 The Favicon section
The Update Favicon modal opens. - You can either drag and drop the file into the modal or click anywhere in the modal box to browse to your file.
- Once you've added your file, the window displays a preview of your file. If everything looks correct, select Update Favicon.
- Be sure to Save your changes once you're done.

Your new favicon is now be live!
For older knowledge bases
Before we had the Favicon option in the left menu, we used to suggest you add some HTML code to the Custom <head> section. If your knowledge base is older, remove this code from your Custom <head> when you upload the new favicon file.
The code was formatted like this, though with an actual URL to the file:
<link href="{url}" rel="shortcut icon" type="image/x-icon" />If you're not sure if this applies to you:
- Go to Customize > Style (HTML & CSS).
- In the Customize HTML, CSS, and JS section, select Custom <head>.
- Review the HTML for code formatted like the sample above.
- Remove it once you add a favicon using the left menu option.