
The Published Date is an optional field in your articles, though we strongly recommend using it for articles within Blog style categories so that the reverse chronological order works properly!
Published Date allows you to specify the date that an article was published. This can be helpful:
- For compliance or audit purposes
- For blog style category displays
The published date is displayed:
- Within articles displayed in blog style categories
- In Manage CSV exports when the Date Published box is checked
- Anywhere the Article Date Published merge code is used
[article("date_published")]
The Published Date is automatically set if you use the Schedule an article to be published feature.
To add a Published Date to an article:
- Open the article in the editor.
- Select the Add Published Date option in the Publishing Status section:
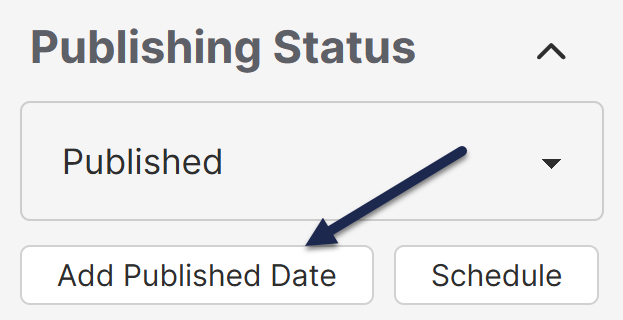 The Add Published Date button
 - Use the date picker to find the date you'd like to use:
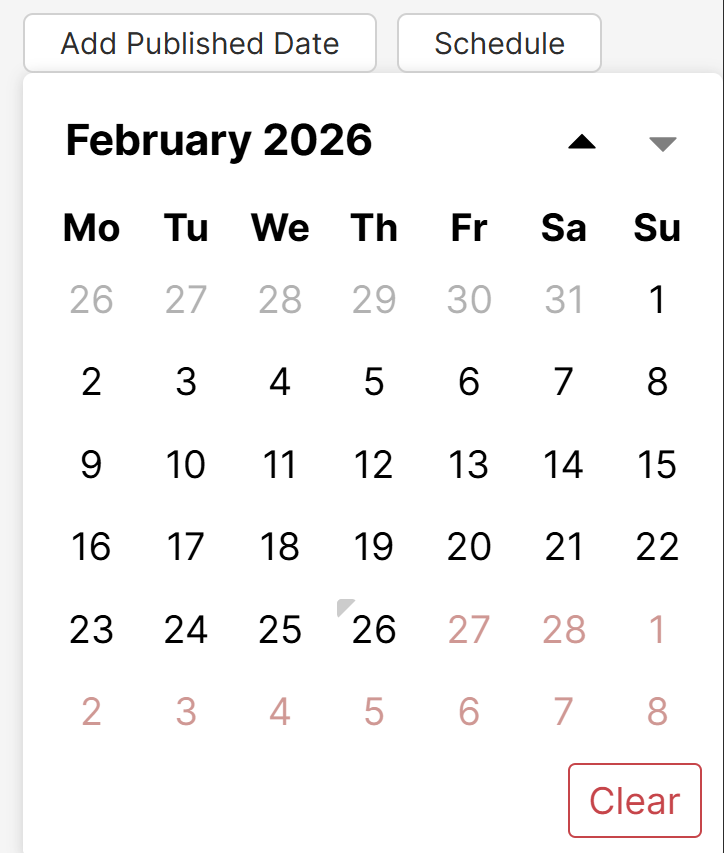 Sample Published Date date picker
- You can only select today's date or dates in the past.
- To pick a date in a previous month or year, select the month + year label at the top of the date picker.
- Once you select a date, the picker disappears and the selected date will display.
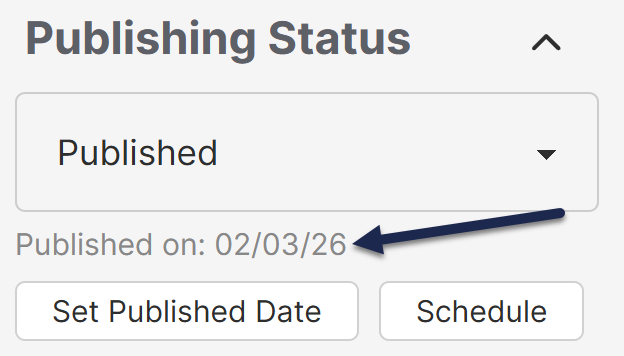 Sample set Published Date
 - Be sure to Save changes to your article so the date fully updates!


Change or remove a Published Date
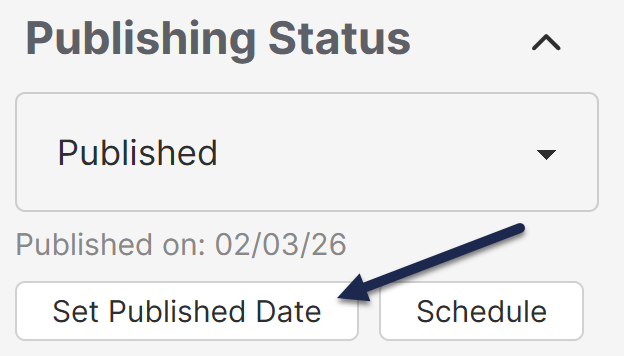
If you already have a published date added to an article, you can change it or remove it completely by selecting Set Published Date:
- Open the article in the editor.
- Select Set Published Date just below the Published on date:
The Published Date date picker opens. - To update the Published Date, select the new date.
- To remove the Published Date, select Clear in the lower right of the picker:
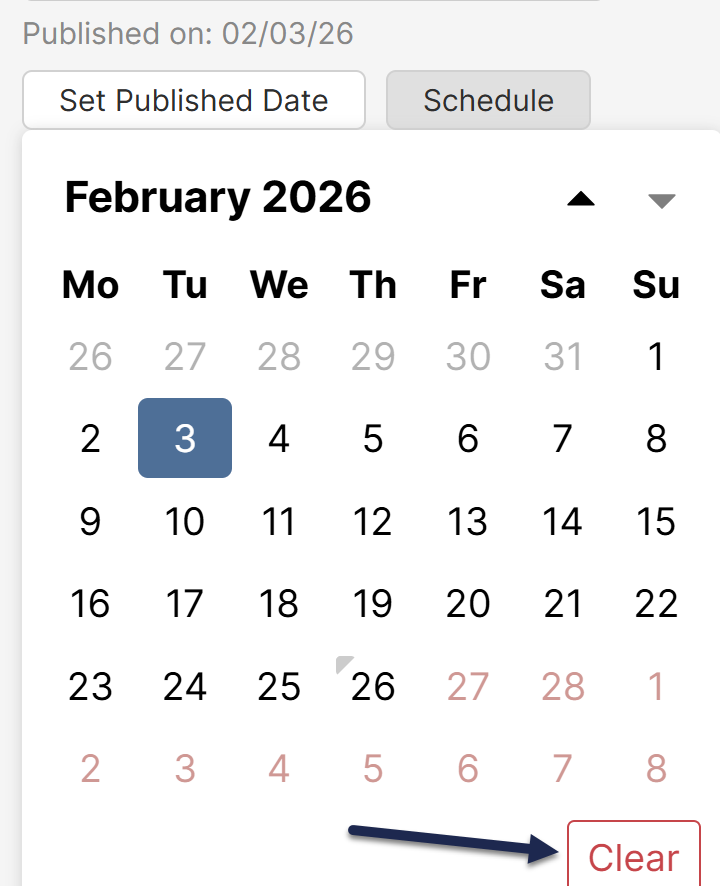 Select Clear in the Published Date date picker to remove the Published Date completely
 - Be sure to Save your changes!
