In July 2022, we rolled out a more secure version of our x509 certificate for SAML SSO.
All SAML SSO integrations set up after this time automatically use the newer, more secure certificate.
Older x509 certificates
For SAML SSO integrations enabled before 19 July 2022, please manually update to the new x509 certificate using the instructions below. This is especially important if you're using Azure AD.
Is my knowledge base affected?
To see if your knowledge base is affected by this change:
- Go to Security and access > Single sign-on.
- Be sure you're in the SAML Settings tab.
- If you see a warning message near the top of the screen that says: "The x509 certificate used in your current SAML metadata is signed using SHA1. We recommend that you click here to update your metadata with a SHA256 signed certificate", your knowledge base is using the older x509 certificate and needs to be updated.
 Sample x509 warning message
Update the certificate
The overall process for updating the certificate is:
- In KnowledgeOwl, generate a new x509 certificate. Once you generate the new certificate, your existing SAML SSO integration won't work!
- Copy the new KnowledgeOwl SP Metadata from KnowledgeOwl, paste it into a text editor, and save it in the format your IdP prefers for the certificate. (Common types include .crt, .cert, and .xml.)
- Update the x509 certificate with your IdP using that file.
To begin updating the certificate, in KnowledgeOwl:
- Go to Security and access > Single sign-on.
- Be sure you're in the SAML Settings tab.
- In the warning message that appears near the top, select the click here link to begin generating the new x509 certificate.
 Select the click here link to update the x509 certificate.
 - The Update SAML SP x509 Certificate modal opens to confirm if you're sure you want to proceed. When you're ready, select OK to update the certificate. The modal displays a confirmation message that the certificate has been updated.
Don't break your SSO
Once you generate a new x509 certificate, your existing SSO integration WILL NOT WORK. We recommend checking your IdP's process and file format for updating the SP x509 certificate before you begin this process, so you can update it as quickly as possible once you begin. - Select OK or the closing X to close the modal. You're returned to the Single sign-on page.
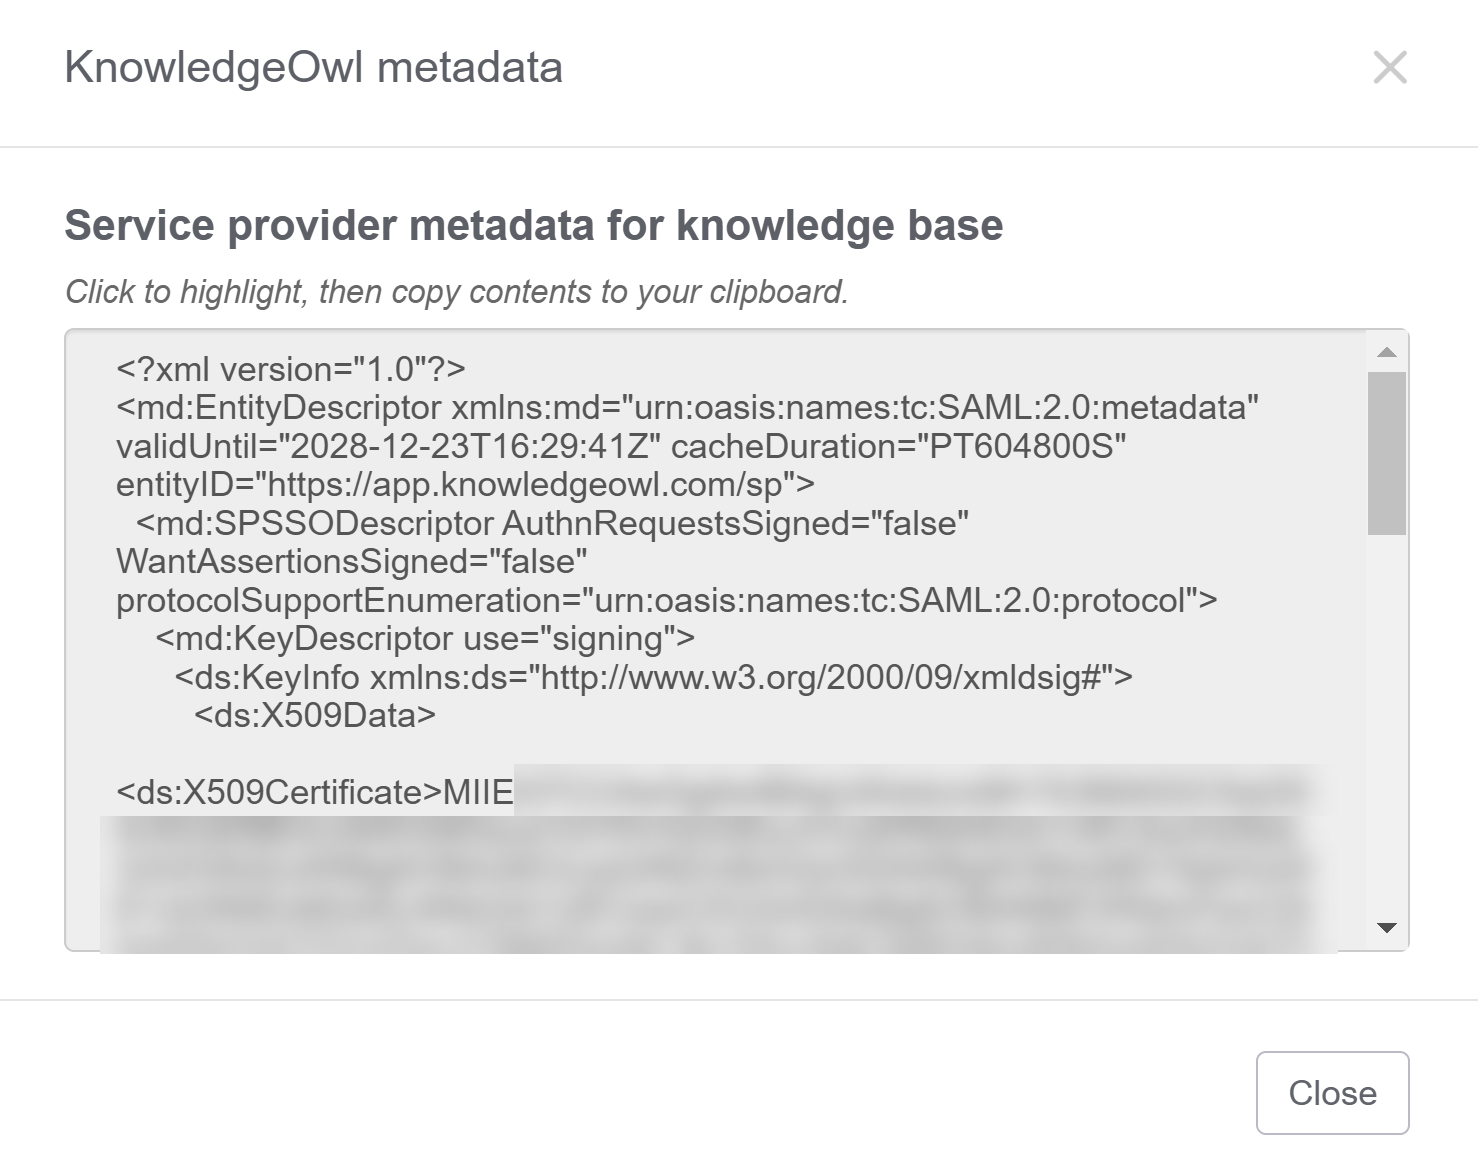
- In the Service provider metadata section, select View metadata. Your KnowledgeOwl metadata opens in a modal.
 Sample KnowledgeOwl metadata modal. The X509Certificate is listed near the bottom of the text box.
 - Select anywhere in the text box to highlight the metadata. Copy that text to your clipboard.
- Paste the text into a text editor of your choice. Save it using the file extension your IdP expects.
- From here, you'll need to update the x509 certificate with your IdP. These steps vary by provider:
- For Active Directory Federation Services, refer to Configure SSO using Active Directory Federation Services (AD FS), Step 4: Add the KnowledgeOwl SP info to your IdP, steps 1-10.
- For Azure Active Directory, refer to Configure SSO using Azure Active Directory (Azure AD).
- For G Suite, refer to Configure SSO using G Suite (formerly Google Apps).
- For all other SSO providers, refer to Configure SAML SSO (generic instructions) and your provider's documentation.


