
Your knowledge base supports three types of PDF exports:
- Individual article PDFs: when viewing an article in your knowledge base, readers can download a PDF of that article using the same general styles as your knowledge base. This can be enabled/disabled for the entire knowledge base or individual articles.
- Standard (Full knowledge base) PDF: Create a PDF file containing all published content in your entire knowledge base
- Custom PDF exports: Create PDFs from selections of published content in your knowledge base; great for things like onboarding guides, Getting Started, downloadable user manuals, etc.
See below for more information on all three types, as well as tips on styling PDFs, using hyperlinks, and using passwords/watermarks.
Each article can be exported to an individual PDF that will match the look and feel of your knowledge base. PDF exports can be toggled on and off globally as well as for individual articles.
To format and style your individual article PDFs, go to Customize > PDF.
Here, you can add:
- Single PDF Watermark: Add text to serve as a watermark on individual article PDFs. This text displays as a diagonal watermark text. For example, here we've used the text "watermark" as our watermark:
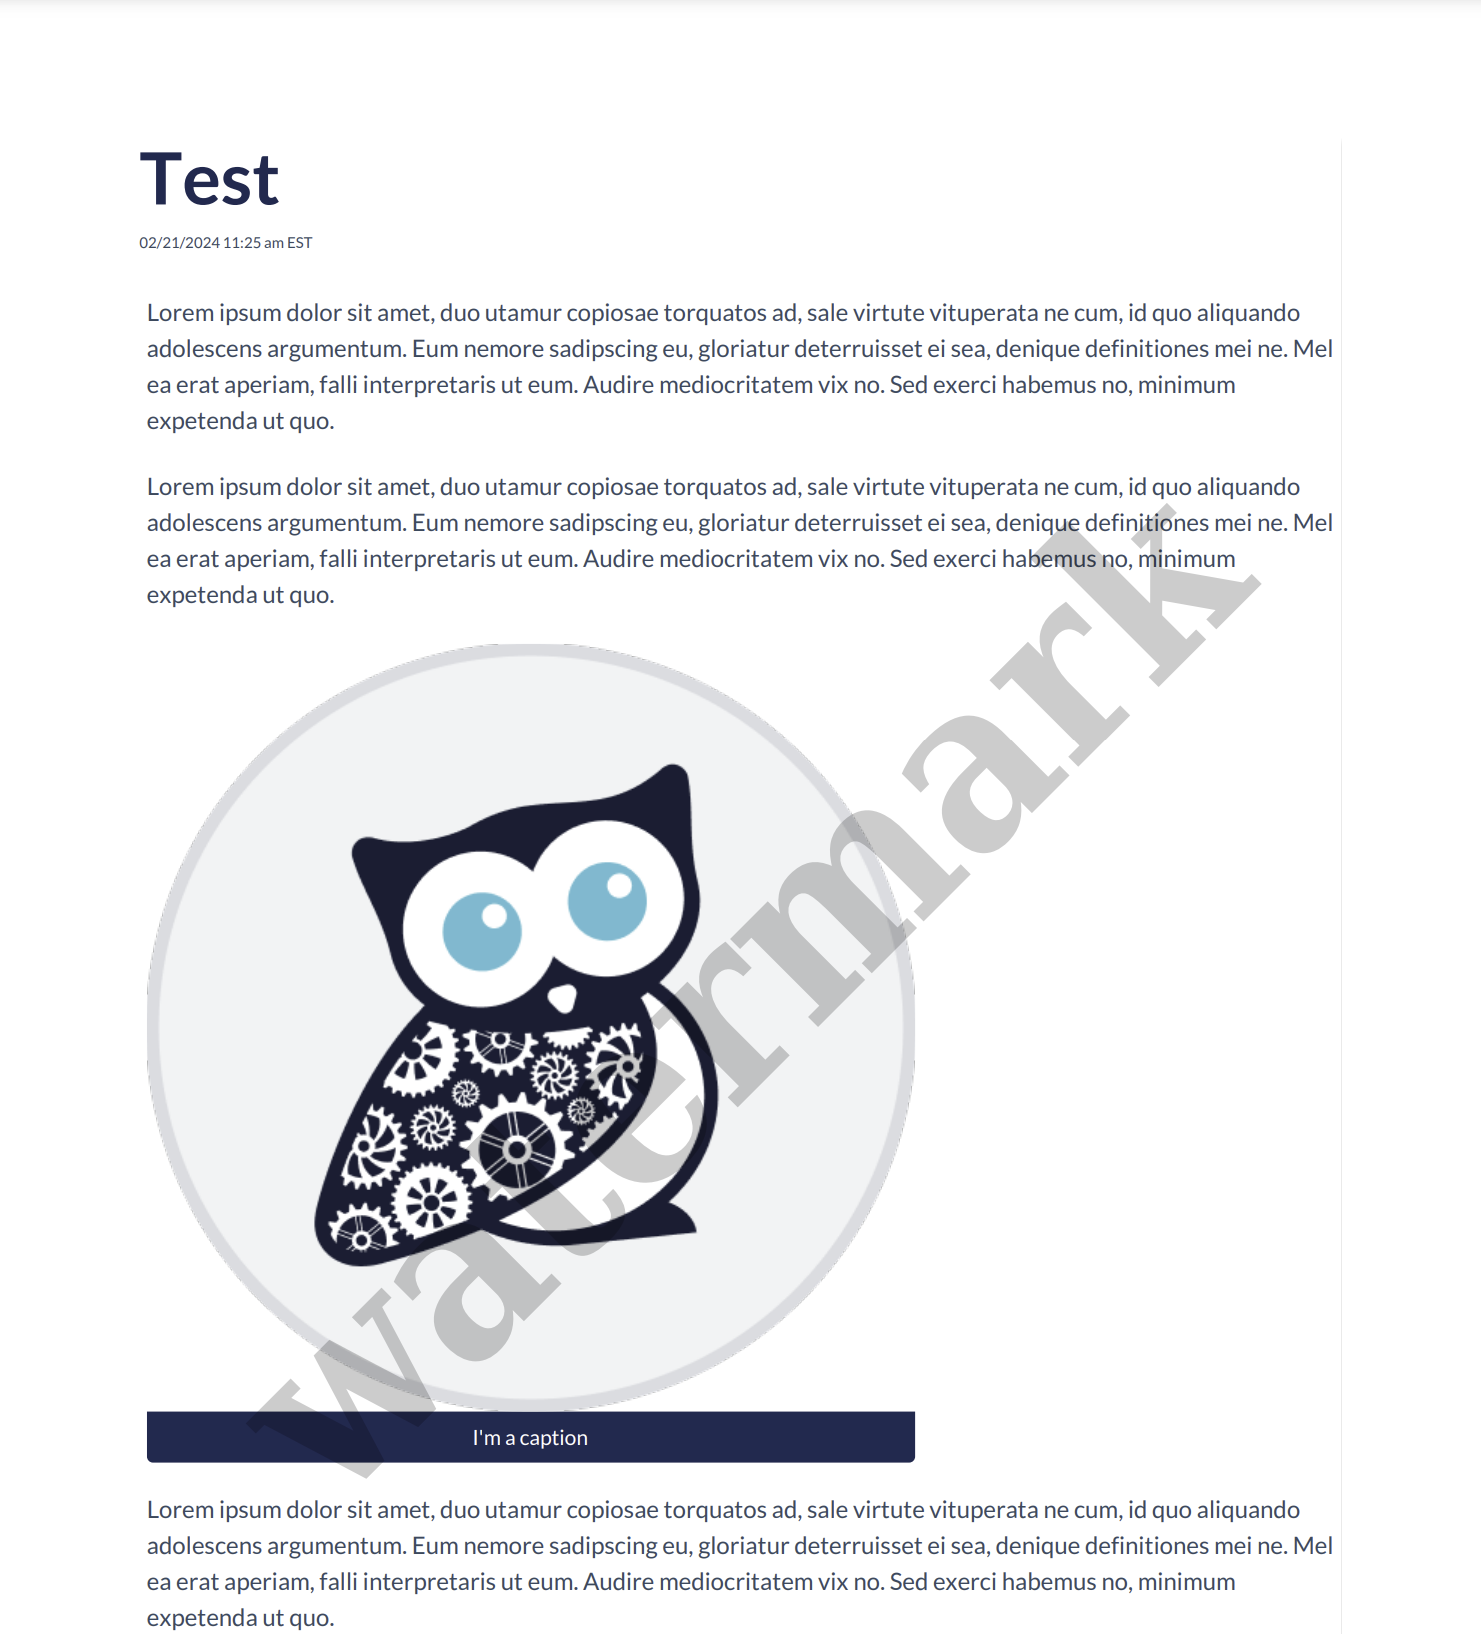 Sample watermark text of "watermark"
 - Single PDF Password: Enter a password that readers will have to enter in order to view the PDF once they download it. This password will apply to all individual article PDFs.
- Page Size: Choose between A4 and US letter.
- PDF header HTML: Add raw HTML to add a header to each page of your individual article PDFs. You can use a PDF Merge Code to add page numbers if you'd like!
Don't sweat the HTML
Not used to formatting raw HTML? Try creating what you need in the article editor, then toggling to Code View to copy the HTML! - PDF footer HTML: Add raw HTML to add a footer to each page of your individual article PDFs. You can use a PDF Merge Code to add page numbers if you'd like!

Changes won't show immediately
PDFs won't immediately update to show these changes. You'll only see the changes in:
- Articles created after you made the changes.
- Articles edited and saved after you made the changes (we usually use a specific article to test with and add/remove a line of text and re-save to test our formatting changes).
Style your PDFs
While PDFs will have the same styles as your overall knowledge base, you can override the styles for your PDFs. This way, PDF articles can have styling different than your online versions, which is especially helpful if you're using a webfont that doesn't display or displays oddly in PDFs.
The header and footer sections aren't impacted by CSS. To add and style headers and footers, you'll need to use straight HTML with in-line styles. We recommend placing headers or footers within a div or table and adding in-line styles for the div or table to help position the text where you'd like it.
For example, our PDF footers include this chunk of HTML:
<div style="text-align: center; font-size: 11px">Copyright © 2015 – 2025 Silly Moose, LLC. All rights reserved.<br>Powered by KnowledgeOwl knowledge base software.</div>This div is aligned in the center with a font-size of 11px. It then displays our copyright statement.
Refer to PDF look and feel for more ways to style or customize your individual article PDFs!
The Standard PDF Export creates a PDF of all Published and Needs Review articles in your entire knowledge with a clickable table of contents.
You can choose to display a link to this PDF at the bottom of your table of contents to allow your readers to download an offline version of your content.
Beware large knowledge bases
Very large knowledge bases won't fit in a single Standard PDF. If your Standard PDF generation fails, try splitting it into two Custom PDF exports.
The Standard PDF can be customized with the following options:
- Customizable cover page
- Choose whether to include restricted content
- Exclude video content
- Specify A4 vs. US Letter page size
- Add a watermark and/or a password
- Add a custom footer
Manual updates required
This Standard PDF will not automatically update as your content is updated; to ensure it's up-to-date, you'll want to periodically come into Tools > Exports, and click the Save & Regenerate PDF Export button.
What does include all private content do?
By default, the Standard PDF settings will leave the Include all private content box unchecked. With the box unchecked, the PDF will only include published content that has no reader group restrictions. If your Standard PDF is missing categories, it's likely because of this setting!
If you'd like the Standard PDF to include categories and/or articles that are restricted to reader groups, check this box and regenerate the PDF.
Use Custom PDFs to create PDFs with the categories and articles you want. Custom PDFs are stored and can be regenerated on demand. They're great if you want to create a curated collection of some of your content, such as for new employee or new user onboarding, quick start guides, and so on.
Custom PDFs can only include articles with a Published or Needs Review status.
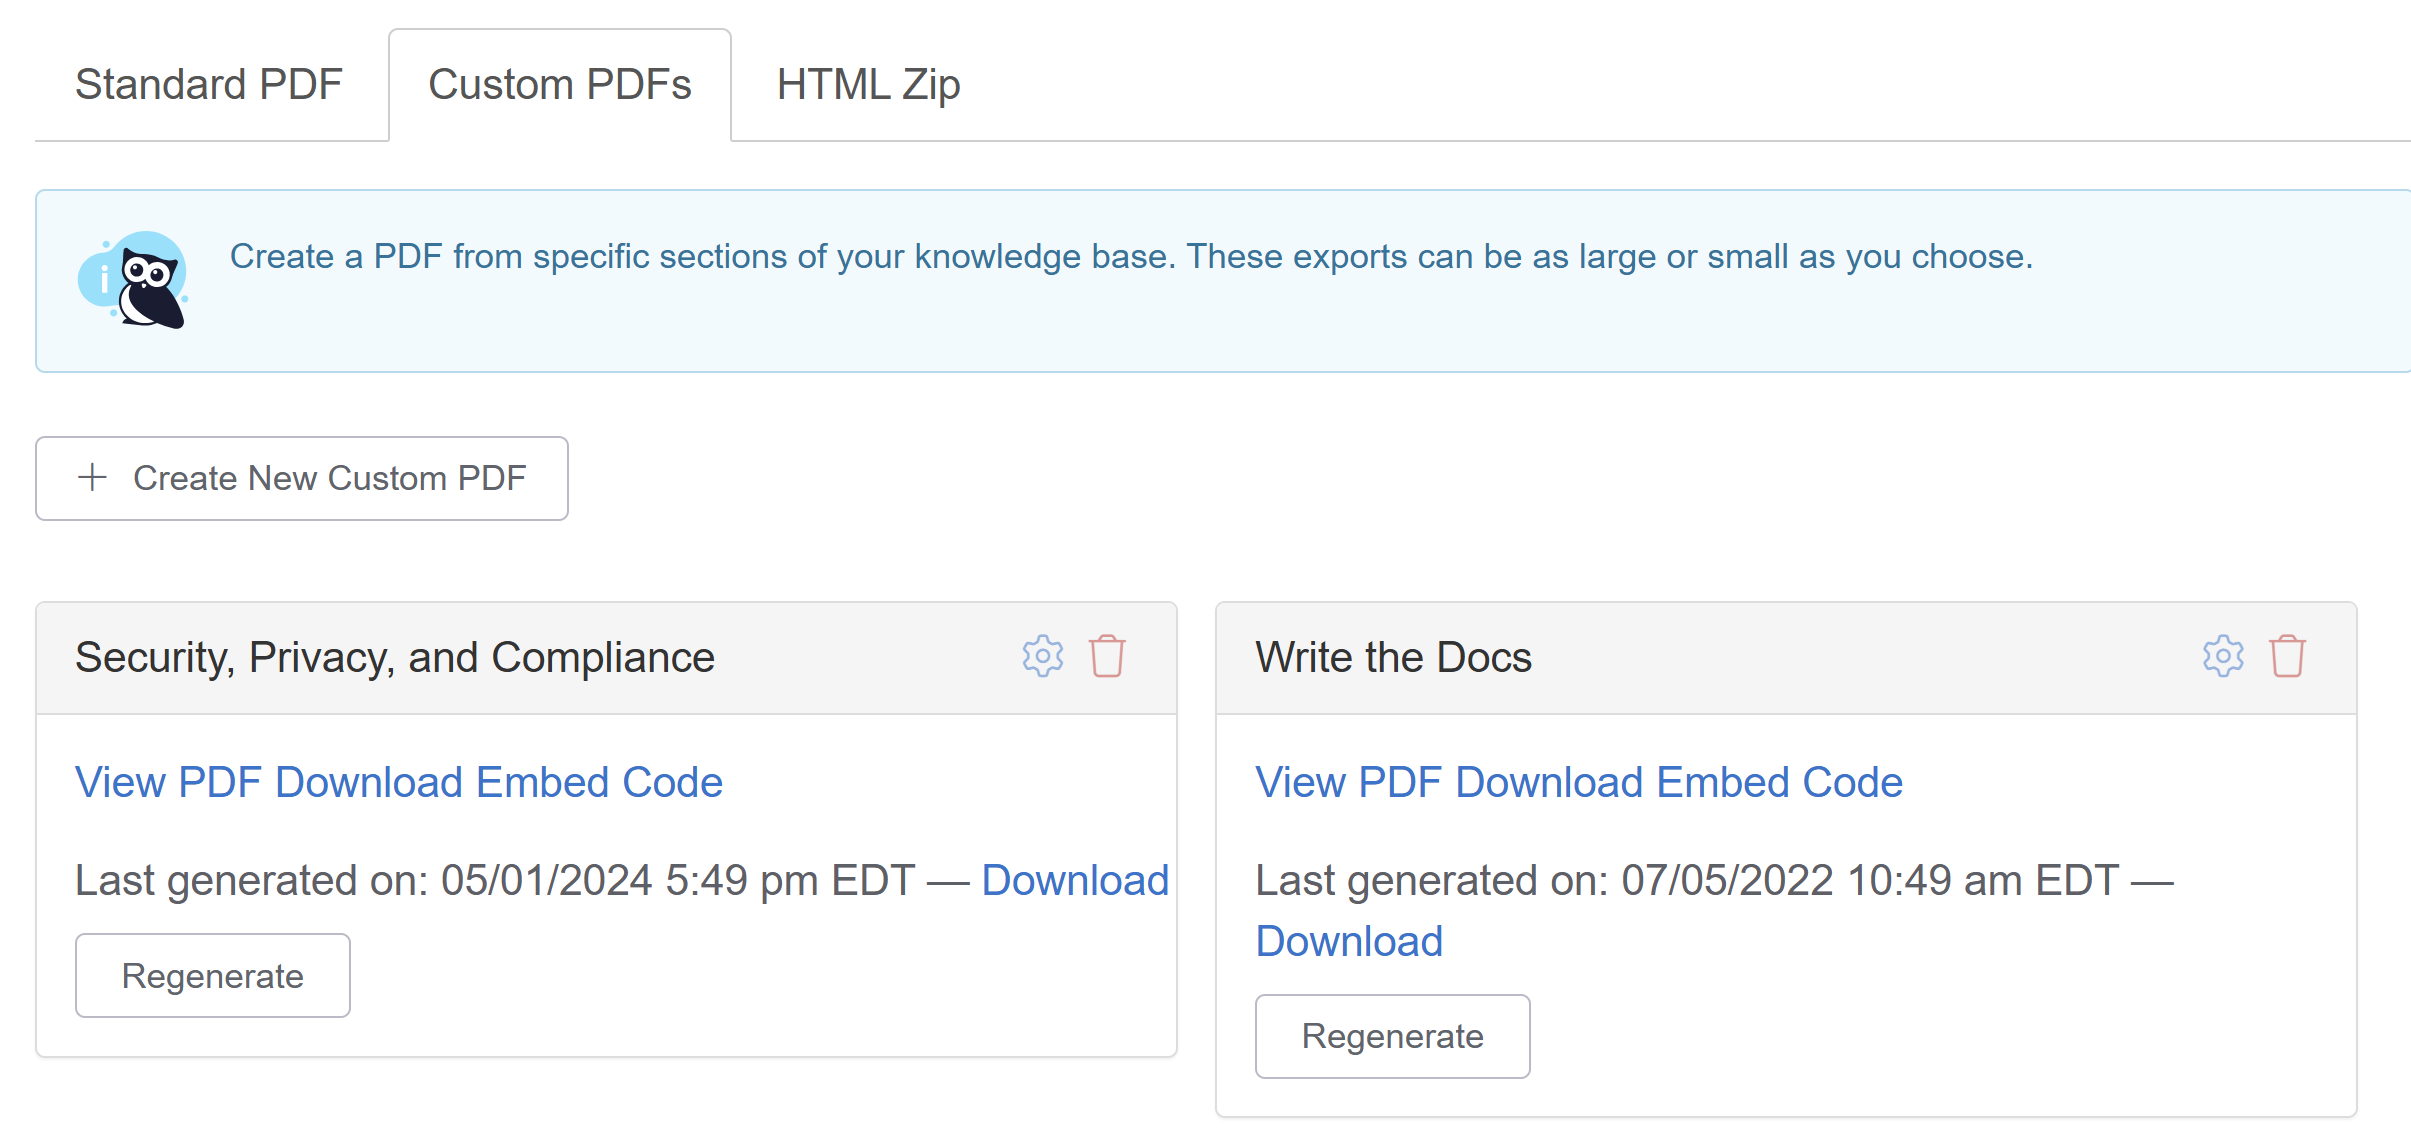 Sample Custom PDFs page with two custom pdfs created
Custom PDFs include many of the same options of the Standard PDF:
- Customizable cover page
- Specify A4 vs. US Letter page size
- Add a watermark and/or a password
- Edit the title of the table of contents
- Add a custom footer
There are four overall steps to generating a new Custom PDF:
We cover each in more detail below.
Create a Custom PDF
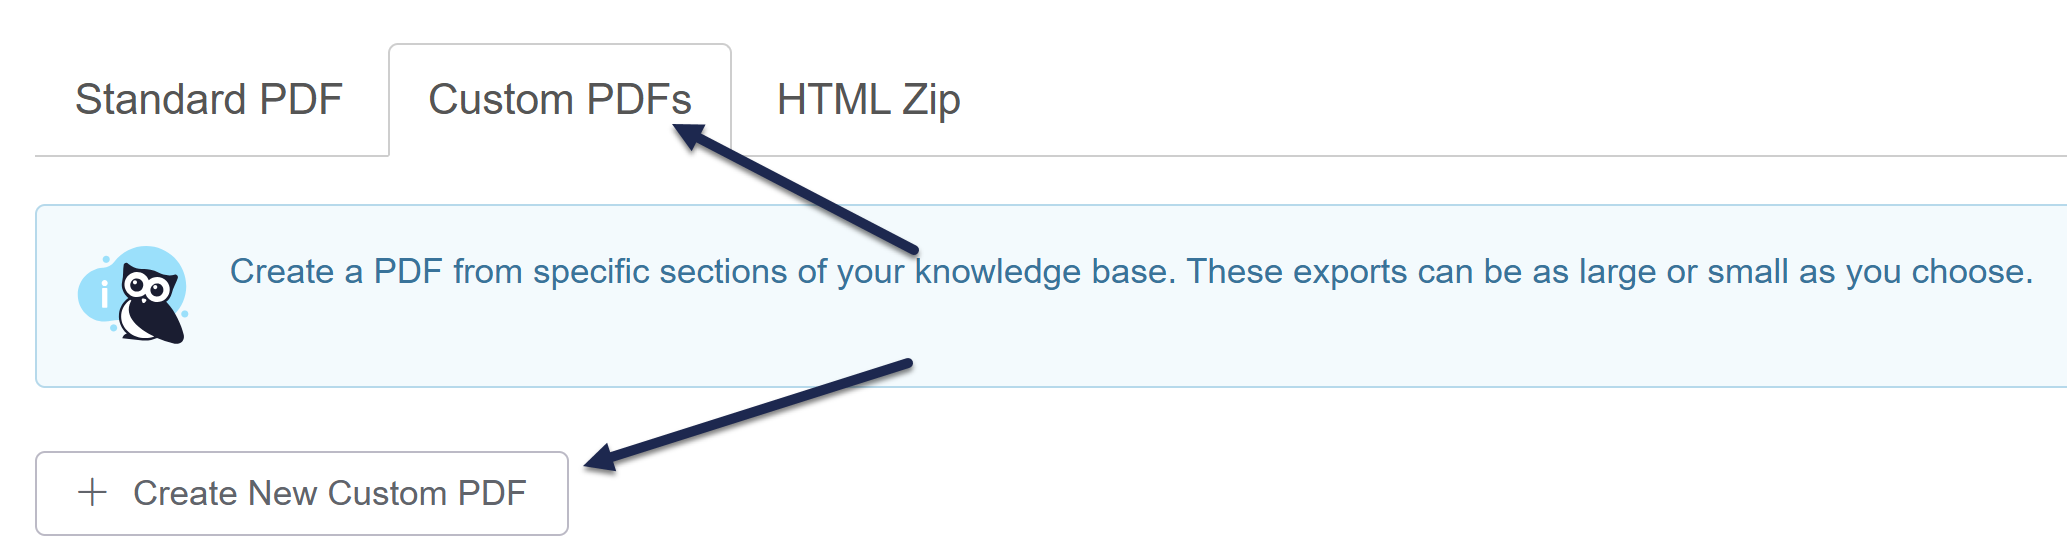
- In the left navigation, go to Tools > Exports. The Exports page opens to the Standard PDF tab.
- Select the Custom PDFs tab.
- Select + Create New Custom PDF.

Configure the Custom PDF
Now that you've created the initial custom PDF, Use the Custom PDF Options page to customize the layout of your PDF:
- Choose whether to Include a cover page using the Content options checkbox (defaults to no cover page).
- Enter a PDF Name. This name is displayed in the Custom PDF tab and is used as the file name when the PDF is downloaded.
- Select a Page Size. Options are A4 (default) and US Letter.
- Optional: Add the text you'd like used as a watermark in Watermark Text. This text will be displayed diagonally across the page of the PDF.
- Optional: If you'd like to password-protect this PDF, add a Password. Anyone opening the PDF will have to enter the password before they can see the content.
- All Custom PDFs generate with a Table of Contents, titled "Table of Contents." Change the page heading by editing the Table of Contents Title.
- If you've included a cover page using the Content options checkbox at the top, edit the Cover Page Title to display the title you'd like. It will default to "[your knowledge base's name] Knowledge Base PDF". You can then include this wherever you'd like in the cover page by adding
[pdf("cover-title")]into the Custom Cover Page Content. - If you've included a cover page using the Content options checkbox at the top, you can also add additional Custom Cover Page Content in the box provided. This will take standard HTML.
- If you'd like anything displayed in the left section of the PDF footer, edit the Content Footer Left section.
- If you'd like anything displayed in the center section of the PDF footer, edit the Content Footer Center section.
- If you'd like anything displayed in the right section of the PDF footer, edit the Content Footer Right section.
For the Content Footer sections or the Custom Cover Page content, several merge codes can help you quickly add certain text, like the knowledge base title or page numbers. Refer to PDF Merge Codes for a list of available merge codes and what they do.
Select your Custom PDF's content
Once you've configured the Custom PDF Options, use the checkboxes in the Included Content section to select the categories or articles you'd like include. Checking the box for a category will automatically check the boxes for all subcategories or articles it contains. Unlike Standard PDFs, Custom PDFs will include restricted content if it's checked.
Deep content hierarchy display bug
The Included Content section tries to display the content hierarchy in your knowledge base, but it has some limitations. Once you hit the third layer of categories, content will not properly indent underneath subsequent categories. So, for example, in this screenshot, all of the articles listed at the same level as Create a category are actually inside it, not at the same level:

Save and Generate your Custom PDF
Once you've finished your selections, scroll to the very bottom of the page and select Save and Generate PDF.
Once you select this option, you'll be returned to the Custom PDFs tab. A progress bar displays under your custom PDF. Once that progress bar disappears, the PDF is available for download and you'll see a different display. Refer to Use a Custom PDF below for more info!
Use a Custom PDF
Once you've generated at least one Custom PDF, you can see all of your Custom PDFs in Tools > Exports > Custom PDFs.
Each Custom PDF appears in its own card. Here's the layout of a custom PDF card:

- The top of the card displays the title. This pulls directly from the PDF Name field in the Custom PDF configuration.
- If you select the View PDF Download Embed Code link, we'll display the HTML needed to embed this PDF somewhere in your knowledge base. Click anywhere in the code box that displays, right-click, and select Copy. You can then paste this code in wherever you'd like to use it (such as in Customize > Style (HTML & CSS) in one of the Custom HTML templates, or within the Code View of an individual article or category).
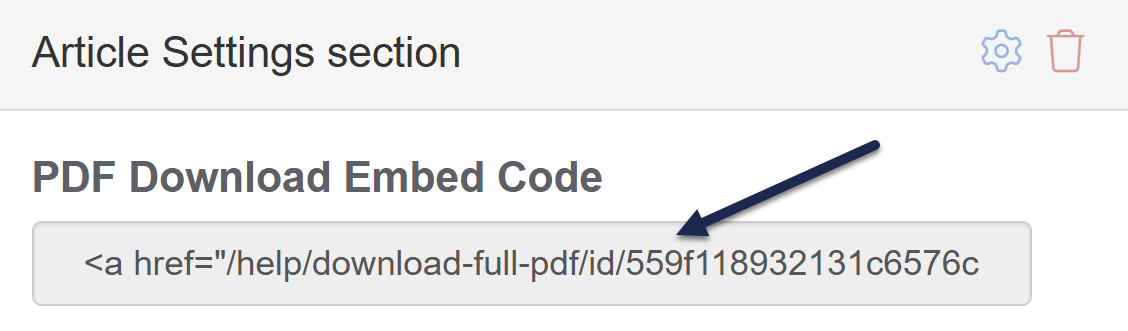 Sample PDF Download Embed Code
 - We'll show the date and timestamp that the PDF was Last generated, so you know how up-to-date it is.
- Use the Download link to download the PDF to your computer.
- If you don't need to change the PDF's settings and just want to regenerate it to be sure it has the latest content, select Regenerate.
- If you'd like to open the Custom PDF to edit its configuration, name, layout, or the content it contains, select the gear icon in the upper right.
- If you'd like to delete the PDF completely, select the trashcan icon in the upper right.

Regenerate a Custom PDF
Custom PDFs are a snapshot of your articles at the date and time your PDF is generated. If your articles change, you will want to regenerate your PDFs to update the content.
To regenerate a custom PDF:
- In the left navigation, go to Tools > Exports. The Exports page opens to the Standard PDF tab.
- Select the Custom PDFs tab.
- Find the card for the custom PDF you'd like to regenerate.
- Select Regenerate.
- A progress bar displays to show you the regeneration's progress. Once it's complete, the Last generated statement will reappear with a new Download link. If you have embedded the PDF in your knowledge base, regenerating it will also update the PDF located at the embed code.
If you'd like to make edits to a PDF or view the content it contains before you regenerate, use the gear icon in the upper right of the custom PDF card instead!
PDFs inherit the styles of your knowledge base.
If you need to customize styles in PDFs differently from your knowledge base (such as web fonts that don't generate in PDFs well), add custom CSS that's prefaced with the .hg-pdf class.
For individual article PDFs, add overall layout/style changes in Customize > PDF. For Standard and Custom PDF exports, add overall layout/style changes in Tools > Exports in the appropriate PDF.
Clickable hyperlinks will automatically generate in all three PDF types, though we have two warnings about this:
- If you are primarily using PDFs as print resources, you may want to display the full URL of a hyperlink. See Display full URL of links in PDFs for how to do so.
- Hyperlinks to same-page anchors will not work properly.
For additional security in your PDFs, consider adding:
- Watermark text: The text you enter will be displayed diagonally across each page of the PDF.
- Password: A reader must enter the password before they can successfully open the PDF.
Refer to the instructions below for each PDF type.
Individual article PDFs
To add these features to your individual article PDFs:
- Go to Customize > PDF.
- Enter text in the Single PDF Watermark to turn on the watermark.
- Enter text in the Single PDF Password to enable the password or edit it.
- Be sure to Save your changes.
- Once you've made a change, go make a small change to a single article and check the PDF to see how you like it. (PDFs can take a few minutes to regenerate and only regenerate once article changes are saved.)
- Once you're happy with the change, contact us to regenerate all your article PDFs.
Standard PDF export
To add these features to your Standard PDF export (Full PDF Download):
- Go to Tools > Exports. The Exports page opens to the Standard PDF tab.
- Enter Watermark text to turn on the watermark.
- Enter a Password to enable the password or edit it.
- Once you make your changes, be sure to select Save and Regenerate PDF Export to update your Standard PDF.
Custom PDF export
To add these features to your Custom PDF exports:
- Go to Tools > Exports. The Exports page opens to the Standard PDF tab.
- Open the Custom PDFs tab.
- Select the gear icon in the custom PDF card you'd like to update.
- Enter Watermark Text to turn on the watermark.
- Enter a Password to enable the password or edit it.
- Once you make your changes, be sure to select Save and Regenerate PDF Export to update your custom PDF.