
When using the widget with private knowledge bases, or knowledge bases that have restricted content that you want your customers to be able to access, SSO authentication is required.
To implement SSO authentication for your readers in the widget, you may choose between OAuth2 or JWT.
To use OAuth2, you'll need to generate a client ID and secret within KnowledgeOwl, and your widget embed script will need to use that secret to authenticate and display knowledge base content to your readers.
Generate Client Secret
To retrieve an OAuth2 token, you will first need to generate the Client Secret for your knowledge base:
- Go to KB settings > Widget.
- Scroll to the Admin Settings section.
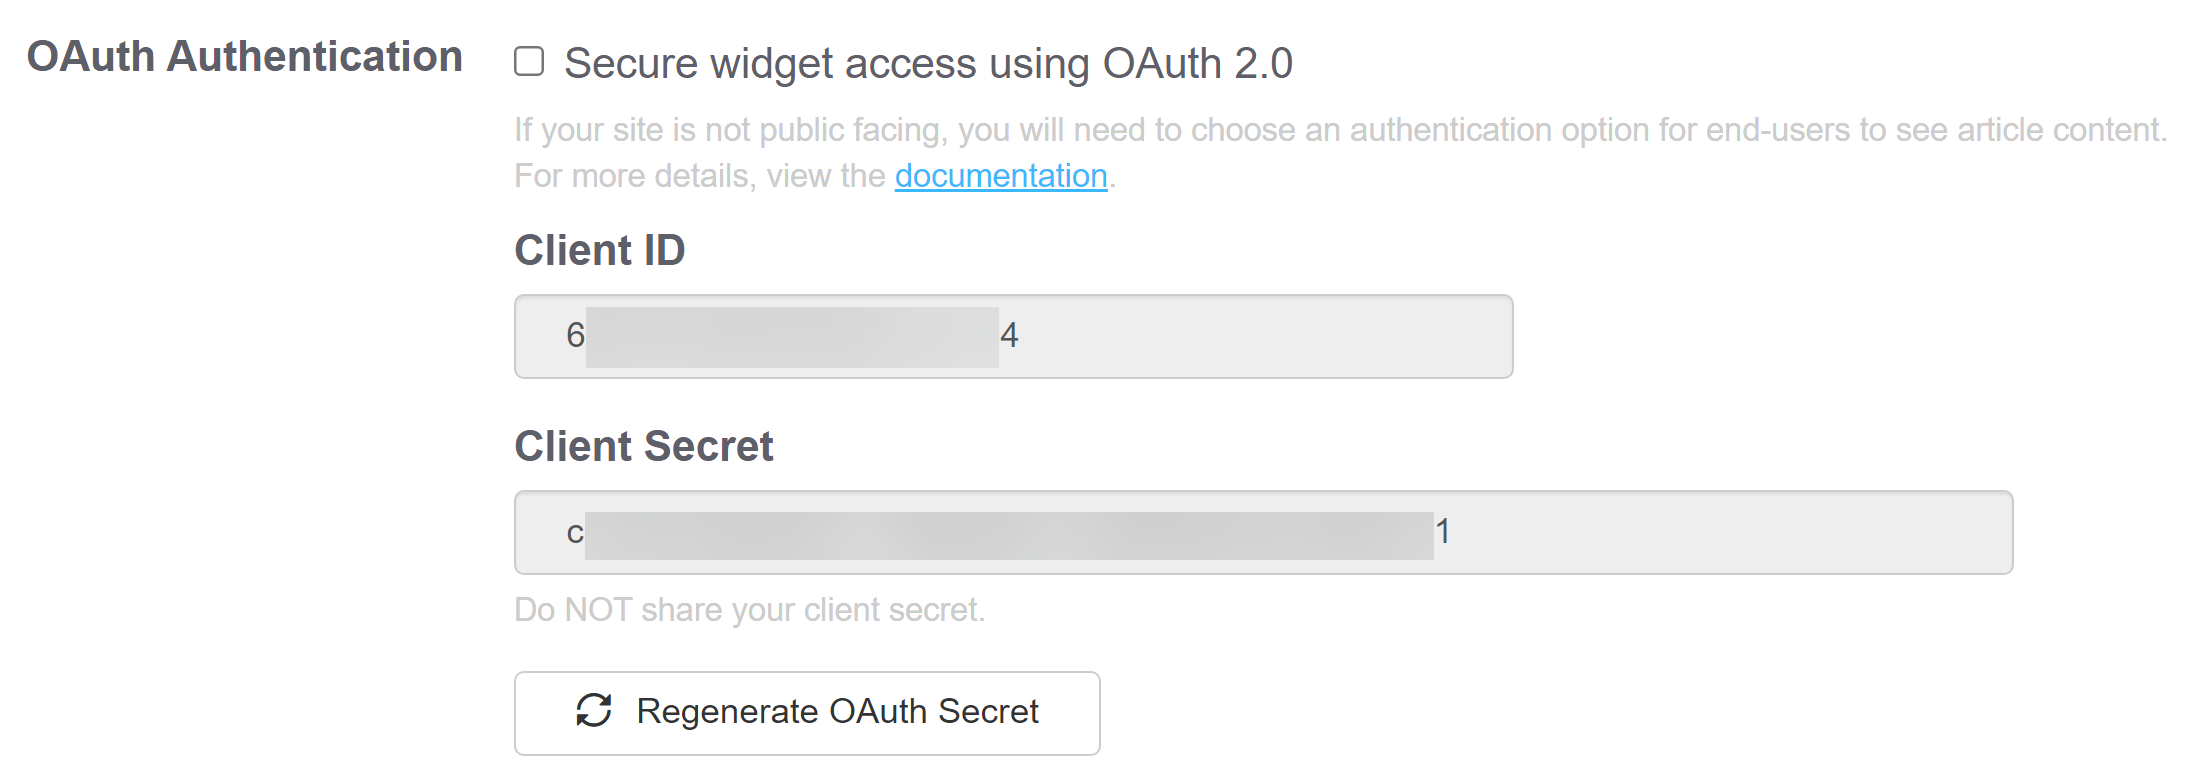
- In the OAuth authentication subsection, select Generate Client Secret.

- Once you select this button, your Client Secret and Client ID populate.


Now that you have your client secret and client ID, use them to request an access token from the OAuth token endpoint. We recommend modifying the default embed script to include a section that will call the _ko19.onReady method and get the token within that method. Refer to the examples below for overall workflow examples and a sample call to this method.
Request Token
//curl request for token with reader information
curl -u clientID:clientSecret https://app.knowledgeowl.com/oauth2/token
-d "grant_type=client_credentials&reader[ssoid]=UID&reader[username]=reader@mysite.com&reader[groups]=Group1,Group2"
Example Response
{"access_token":"1234567890987654321234567890987654321234","expires_in":3600,"token_type":"Bearer","scope":null}Widget Embed Code Example
var _ko19 = _ko19 || {};
_ko19.__pc = '123xxxxxx-123xxxxxxx';
_ko19.base_url = '//yourkb.knowledgeowl.com';

!function() {
  var ko = document.createElement('script');
  ko.type = 'text/javascript';
  ko.async = true;

  ko.src = `${_ko19.base_url}/widget-app/assets/js/load.js`;
  document.head.appendChild(ko);

  /**
   * The widget is loaded and ready to receive commands
   */
  _ko19.onLoad = function () {
    // Retrieve the OAuth2 token from a server side endpoint
    getToken();
  }

  /**
   * Form the authentication object and pass it to the widget for authentication
   */
  getToken = function() {
    // Get the OAuth2 token from a server side endpoint
    $.get('my.oauth2.endpoint', function(response){
      if(response.token) {
       // Example value for response.token = '1234567890987654321234567890987654321234'
       var authToken = {'type': 'oauth', 'token': response.access_token};

	   // Send the object for authentication
       authWidget(authToken);
      }
    });
  }

  /**
   * The widget will pass the response back from the authentication call here.
   * This can be useful for debugging purposes if any errors occur
   */
  _ko19.onAuthResp = function(response) {
    // Take an action of the authentication fails
    if(response.error)
      console.log(response);
  }

  /**
   * The widget will call this function whenever authorization fails
   * This can occur before the user is logged in, and after the authentication expires
   * With most workflows, you will want to re-authorize the end-user
   * when this event occurs
   */
  _ko19.onAuthError = function () {
    console.log("not authorized trigger");
  }

  /**
   * Pass your token as JSON into the widget's authenticate function
   * the JSON format should be as follows:
   * {'type': 'jwt|oauth', 'token': token_value}
   */
  authWidget = function(authToken) {
    _ko19.authenticate(authToken);
  }
}();
Enable OAuth
When your script is ready for testing/usage, set the widget to use OAuth authentication:
- Go to KB settings > Widget.
- Scroll to the Admin Settings section.
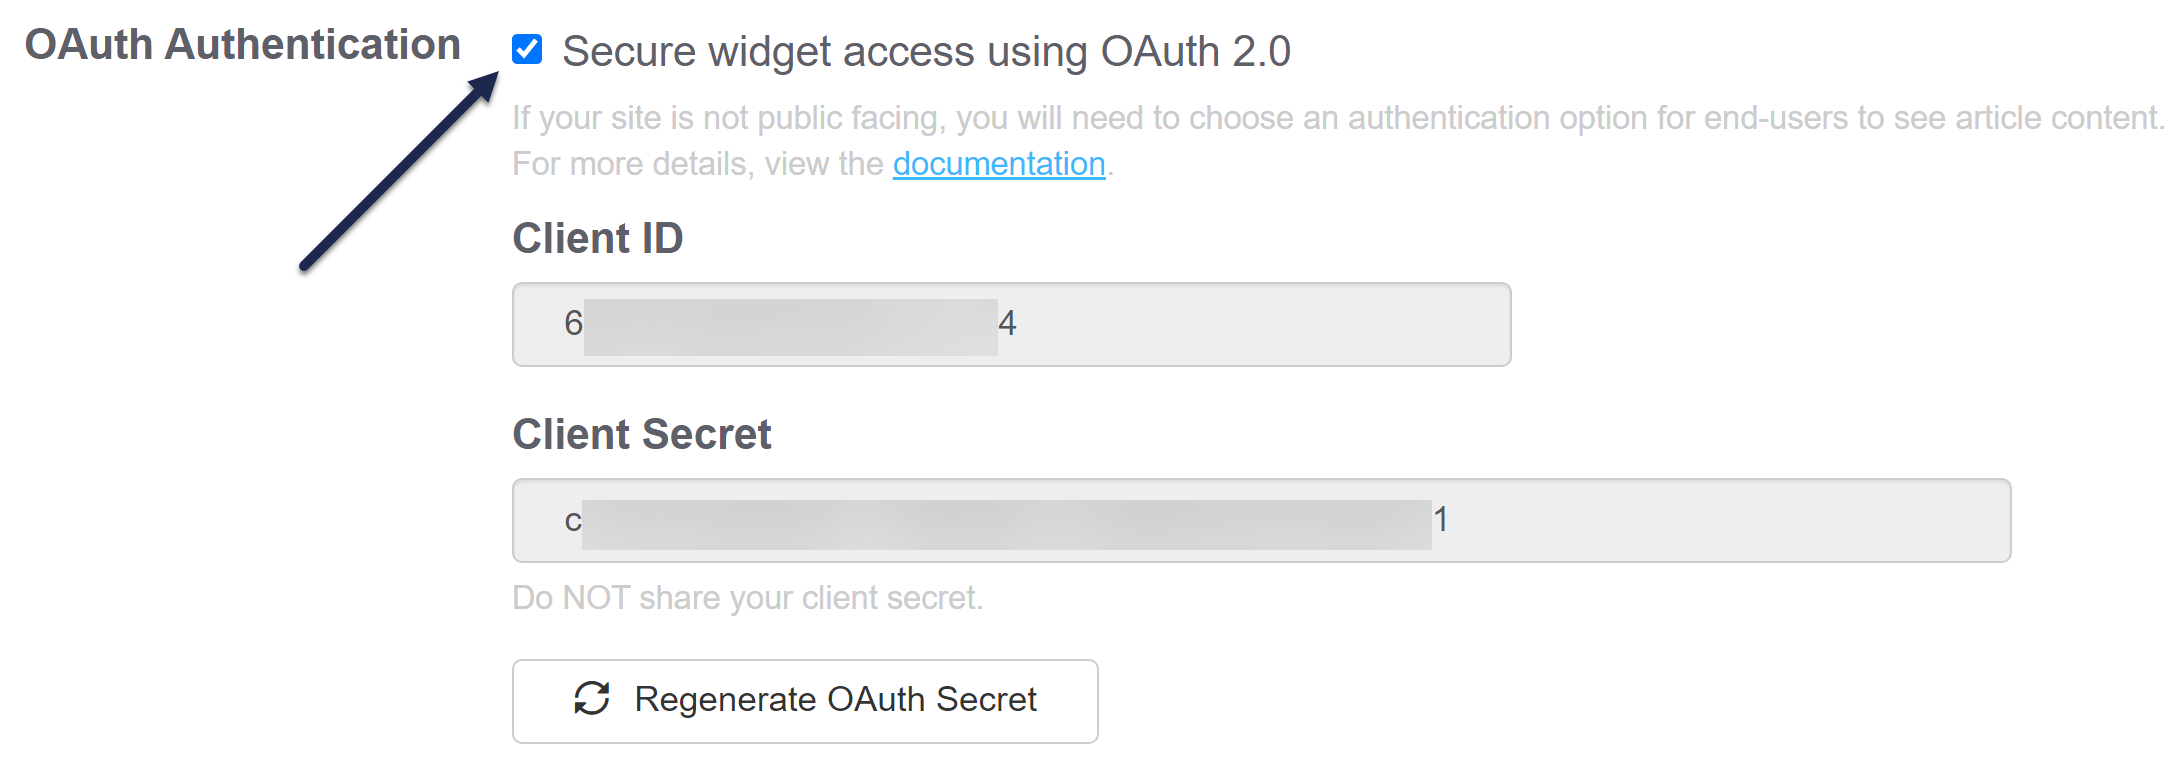
- In the OAuth authentication subsection, check the box to Secure widget access using OAuth2.
- Save the settings.

Regenerate OAuth Secret
For security reasons, sometimes you may want to generate a new OAuth secret. You can do this directly yourself in KB settings > Widget.
Regenerating breaks existing OAuth secret
Once you regenerate the OAuth secret, the existing OAuth secret won't work, so your widget authentication will basically be broken until you update it to use the new secret.
To regenerate your secret:
- Go to KB settings > Widget.
- Scroll to the Admin Settings section.
- In the OAuth Authentication subsection, select Regenerate OAuth Secret. The Regenerate OAuth 2.0 Client Secret modal opens to confirm you're ready to make this change. As the message states, regenerating the secret will invalidate the old secret (which basically breaks your existing widget authentication until you update it to use the new secret).
- To proceed with regenerating the secret, select Regenerate.
- The modal closes and your new OAuth secret is displayed.
You can now update your authentication scripts/processes to use that secret instead.