
It's rare for an SMTP provider to not require authentication of some kind, but since we've had requests for it in the past, you have the option to add an unauthenticated SMTP service.
Look before you leap
Only use this type of SMTP authentication if you've confirmed your SMTP provider doesn't require authentication!
Before you configure the SMTP service in KnowledgeOwl, check with your SMTP provider for their specific instructions. You may need to contact your IT administrator to help set this up.
To set up a new SMTP service, you'll need to:
- Check your SMTP provider for their instructions on adding an SMTP integration.
- Set up the SMTP service in KnowledgeOwl using that information.
- Send a test email in KnowledgeOwl to verify the SMTP is properly configured.
Refer to the more detailed instructions in each section below.
Before you begin
Check with your SMTP provider for their specific instructions.
Try searching for information on configuring SMTP mail relay for external use, outgoing SMTP email, or checking your SMTP settings.
You may need to contact your IT administrator to help set this up.
Set up your SMTP service
Once you have detailed instructions for your SMTP provider, set up your new SMTP service in KnowledgeOwl:
- Go to Account > SMTP. The Custom SMTP page opens.
- Select + Configure New Service. The Create SMTP Service page opens.
- Enter a Friendly Name for your service. This name will be displayed in SMTP dropdowns for individual features, so it should describe the SMTP service in some way.
- Enter the SMTP Host. This is the address your email server provides for the SMTP host.
- Enter the Port. Most providers will have specific recommended ports.
- Where possible and supported, we recommend using port 587, as this is the port used by modern email servers for secure submission of email for delivery.
- If you'd like to encrypt emails during transmission, we recommend using port 587 with TLS enabled unless otherwise directed by your provider.
- Enter a Send From Address. This is the email address displayed in the "From" field for all emails sent using this SMTP service.
- Optional: Enter a Reply To Address. This allows you to specify a Reply-to address different from the Send From Address.
- Optional: Enter a Send From Name. This is the name displayed in the "From" field for any emails sent using this SMTP service.
- If your SMTP provider does not require authentication, in the Authentication section, select Unauthenticated.
- Once you've finished completing all fields, select Create to finish creating the SMTP service.
Once you've created the service, be sure to test it following the next set of instructions!
Test your SMTP service
Test early and often
We strongly recommend sending a test email to verify your SMTP is set up correctly.
Once you've created your SMTP service and authorized it, we recommend testing the SMTP service. To do so:
- In the Edit SMTP Service page in the Authentication section, select Send Test Email:
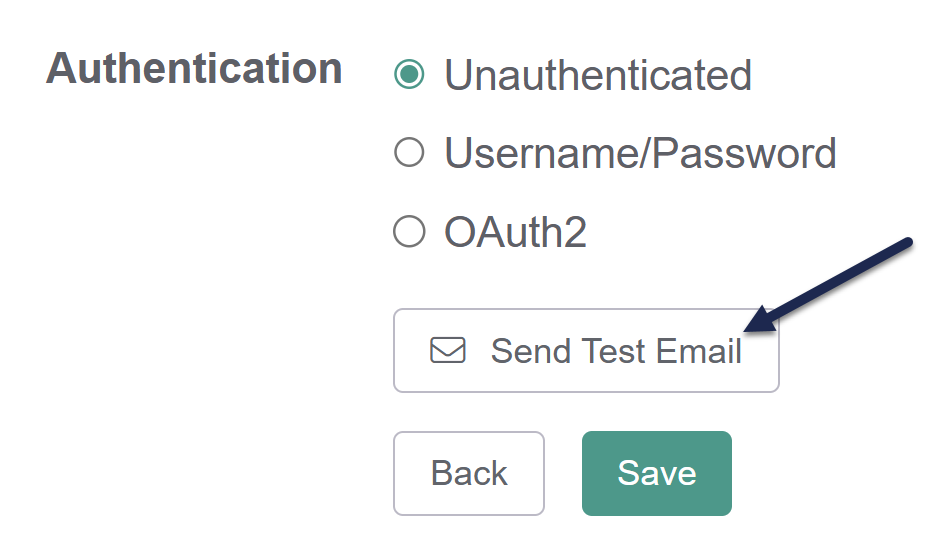 Sample Send Test Email button after an SMTP service has been created
- For your Test recipient email address, enter an email address you have direct access to.
- If your SMTP isn't set up correctly, KnowledgeOwl displays the error message we received to help you determine what's wrong. Error messages should be one of two types:
- Basic validation: We'll alert you if the email addresses you've entered don't follow standard email address conventions or if any required fields have been left blank.
- SMTP provider validation: If the error comes from the call to your SMTP provider, we'll return the error message they provide.
- If your SMTP is correctly set up, the test email should go through and show you a confirmation message. At this point, your SMTP is ready to use!

Once you receive the successful confirmation message after sending a test email, your SMTP service is fully configured!
You can now use this SMTP in:
- Any knowledge base's Subscription settings
- Your account's Reader emails for reader welcome and password reset emails
KnowledgeOwl IP Address
If you need to set up an exception for these communications with your SMTP provider, refer to Required IP addresses for more details.