
There are two different ways you can link to websites outside of KnowledgeOwl:
- URL redirects, in which an entire article or category in your knowledge base redirects to another site
- links included within the text of an article
This article will walk you through working with both types of links.
URL redirects
In some cases, you may want clicking on an article or category in your knowledge base to redirect someone to an external website, such as your company's employee portal or help desk. To get this behavior, you'll set up the content as a URL redirect. You can set up redirects at the category and article level.
Category URL redirects: New category
You can create a new category from scratch as a URL redirect by checking the URL Redirect option when you create the category. To do so:
- Select + Add, then select Category or Subcategory, depending on where you began the process.
- In the New category modal, enter a Title for your category.
- In Body, select URL Redirect.
- Select Create and edit. The category editor opens to your newly-created category.
- To redirect readers to a URL: Enter the URL in the Redirect URL field.
- To redirect readers to a file stored in KnowledgeOwl: Select Redirect to File and use the modal that opens to select the file to direct readers to.
- Use the Redirect Link Behavior control to set whether opening this article will open the URL in a new tab or the same tab.
- Once you Save, anyone opening this category will be redirected to the URL you've entered in the Redirect URL in the tab selected as the Redirect Link Behavior.
For example, this category will redirect to the KnowledgeOwl pricing page:
 Sample category editor with URL redirect configured
Category URL redirects: Update existing category
You can convert any existing category to a URL redirect by changing the Category Type dropdown. If your existing category has subcategories or articles in it, though, this may make it hard for people to navigate to that content.
Article URL redirects
To set up a URL redirect article:
- Create the article as you would normally.
- In the article editor, check the box under URL Redirect:
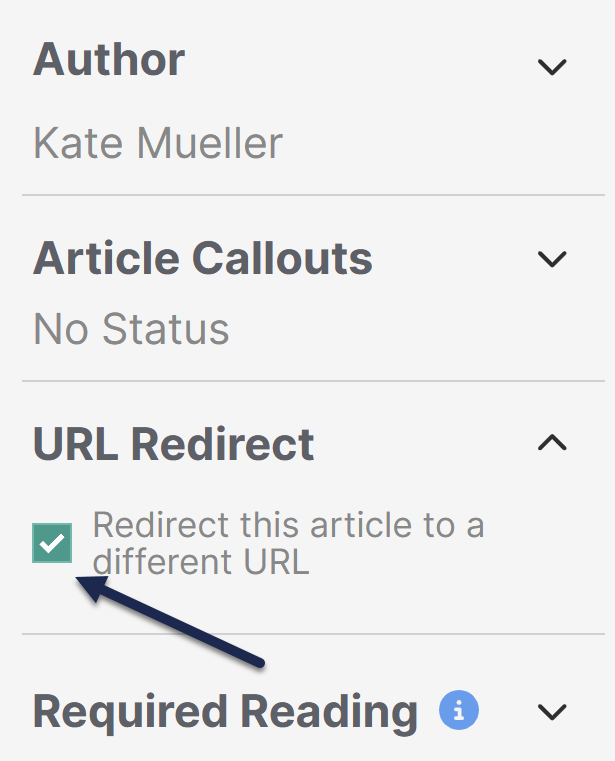 Check the URL Redirect box in the righthand column.
 - Two new fields display under the Full Article title: Redirect URL and Redirect Link Behavior.
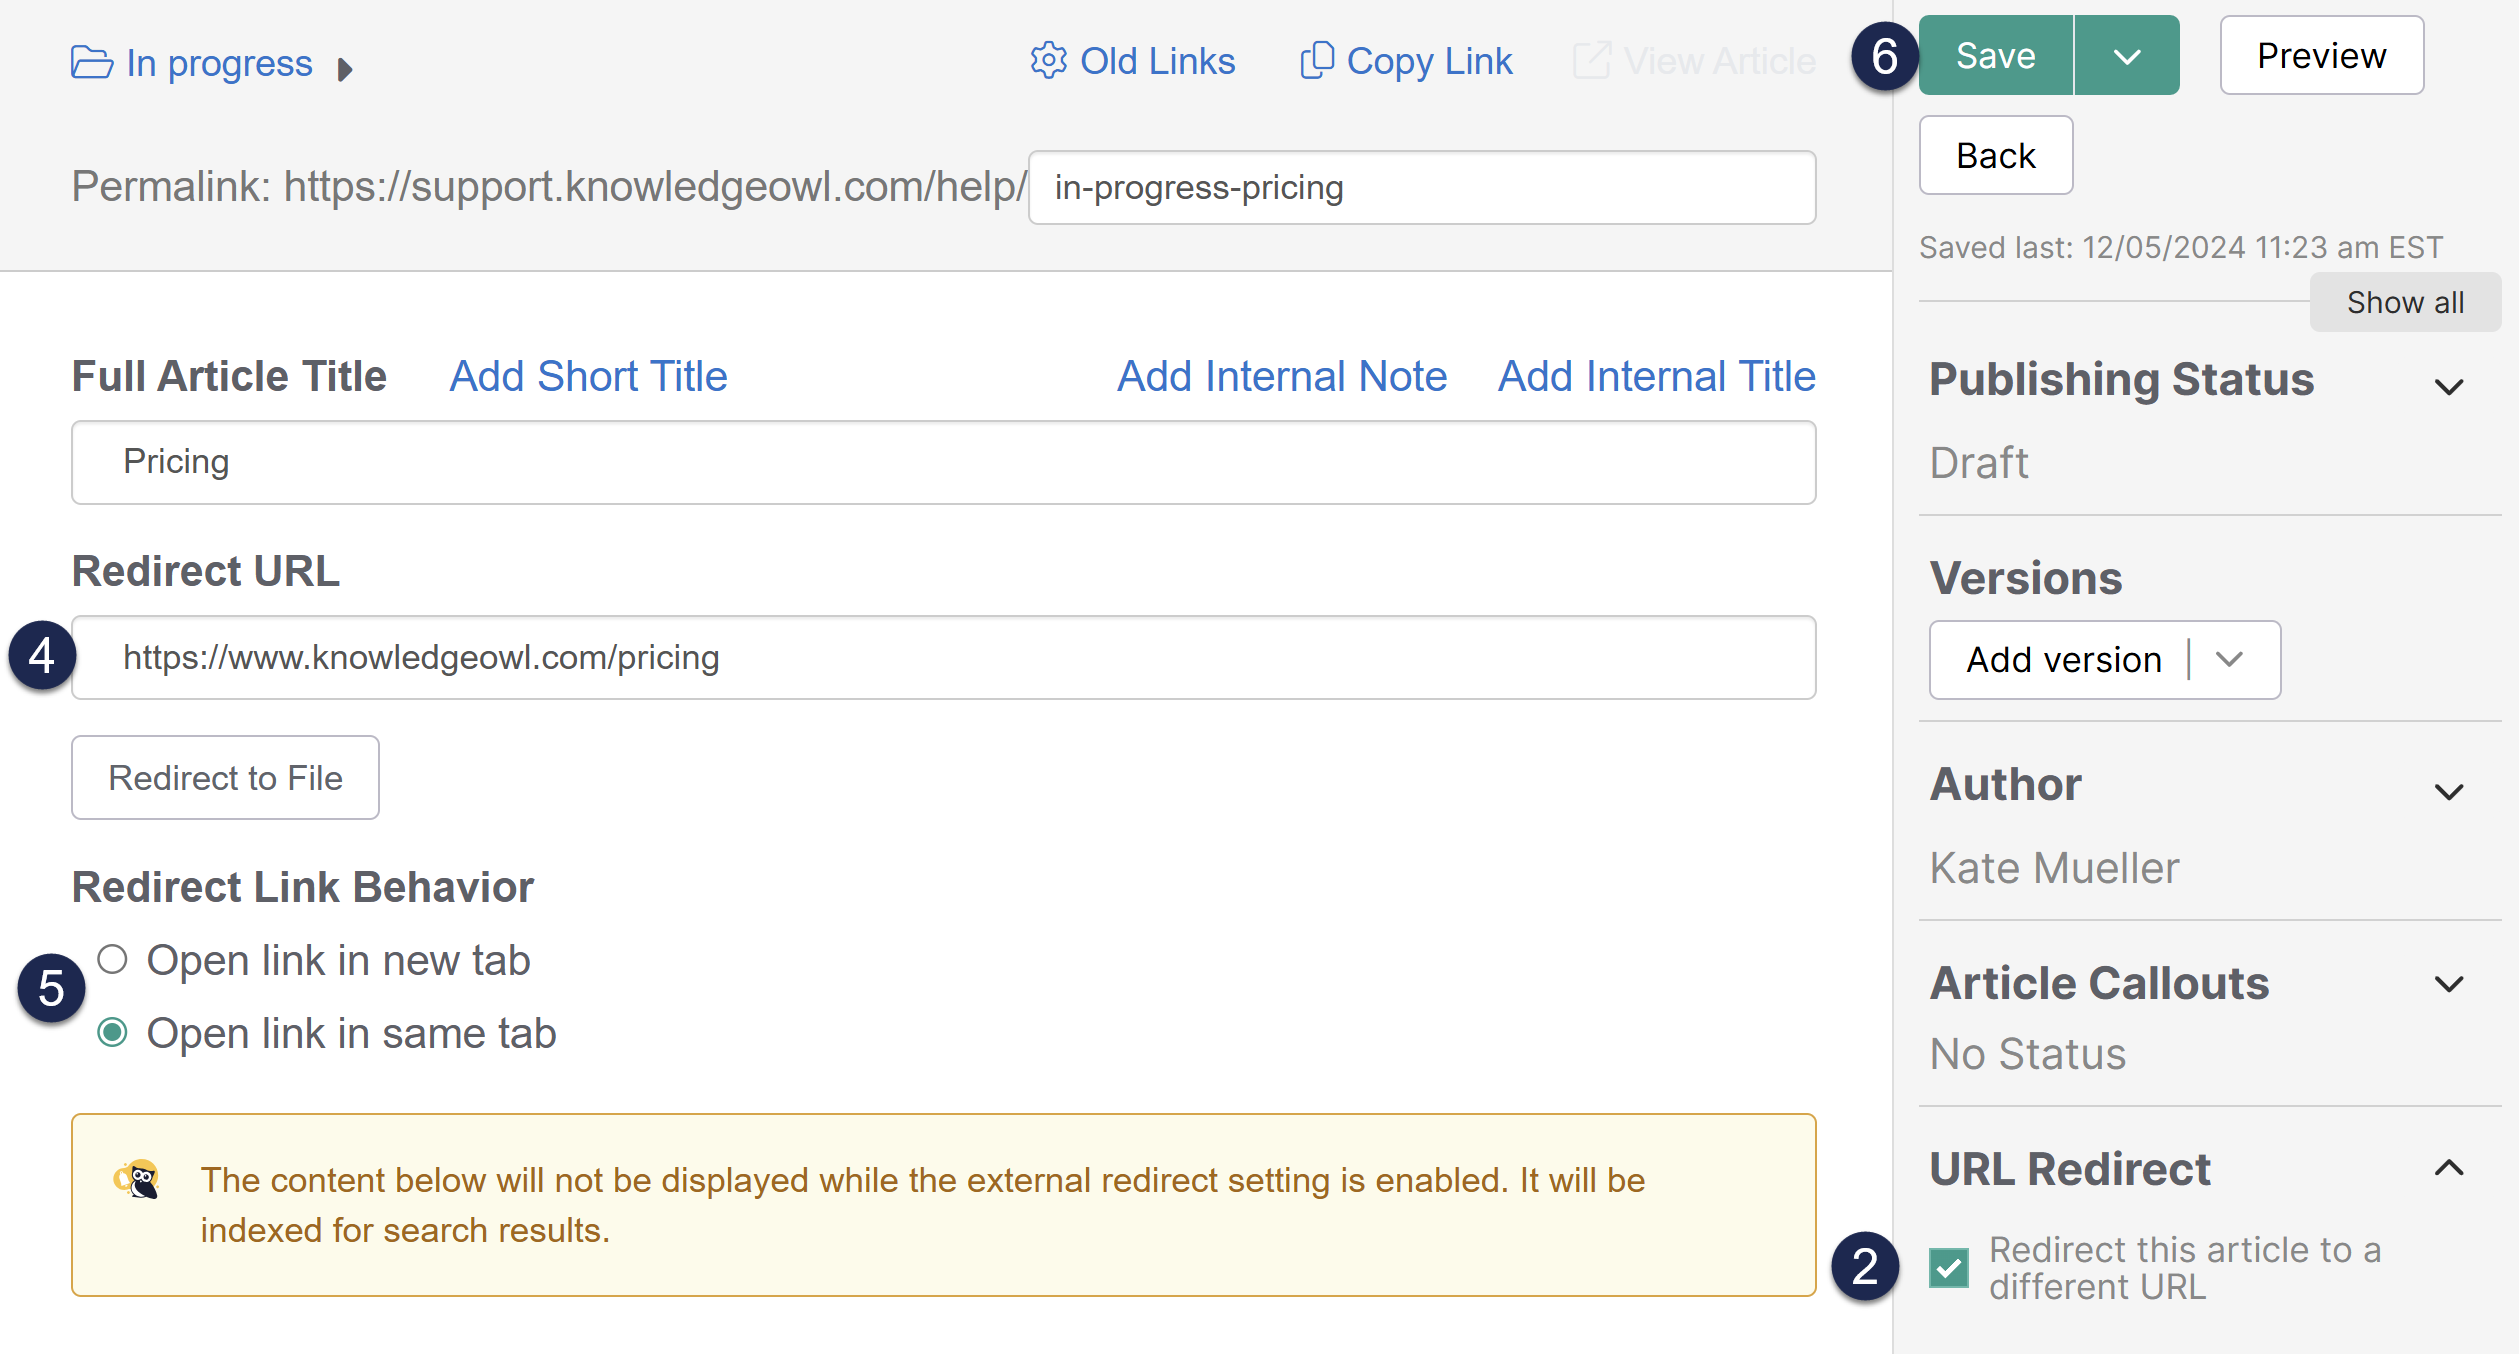 The article editor when the URL Redirect box is checked
 - Enter the URL you want this article to redirect to in the Redirect URL field.
- Use the Redirect Link Behavior options to control whether the URL redirect will Open link in new tab or Open link in same tab (default).
- Once you've filled out both fields, be sure to Save your changes.


Article content won't be displayed
As the warning on this page says, any content in the editor win;t be displayed when a URL redirect has been enabled. It will still be indexed for search though.
Insert link to another website in your article body
To insert links to other websites:
- Open the article for editing.
- Select Insert Link (two chain link icon) or press Ctrl + K on your keyboard:
 The Insert Link button
 - A modal opens where you can enter the information for your link:
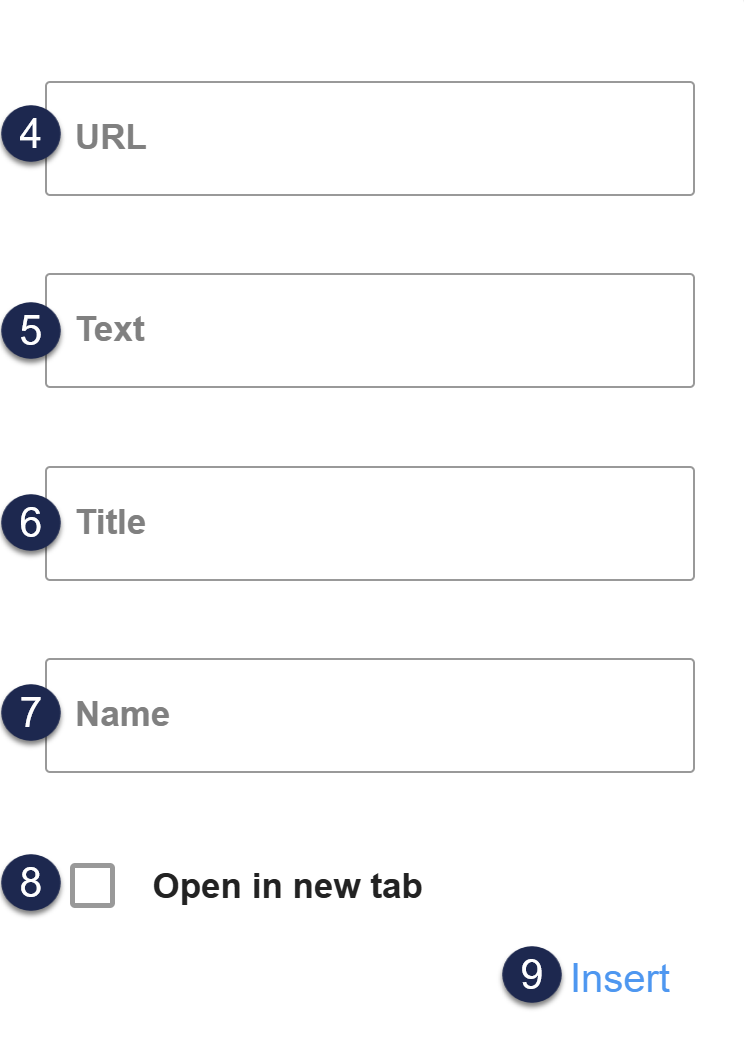
- Enter the URL the site you wish to link to.
- Enter the Text for the link you'd like displayed in the article.
- Optional: Enter the text that will be displayed when a reader hovers their mouse over the link in the Title.
- Optional: If you'd like to reference this link as an anchor for quick navigation/to link from somewhere else, enter a non-space-containing Name for the link. You can link to this link using #Name at the end of the article's URL.
- By default, when a reader opens this link, the link will open in the same tab. To change this behavior, check the Open in new tab box.
- Once you've set the traits for your link, select Insert. Your link should now be visible. You can select the link to open the link context menu, which lets you open the link, edit it, and unlink it.
- Be sure to Save your changes.


Here's a sample link: See how amazing owls are
Save time with Text
If you already have a line of text in your article you want to use for a link, you can highlight that text before you select Insert Link. The Insert Link modal will autopopulate the Text field using the highlighted text.
Test links
Once a link is in an article, you can confirm that it's opening to the correct URL:
- Select anywhere in the text of the link to display the link context menu.
- In that menu, select Open Link (a square box icon with diagonal arrow pointing up and to the right):
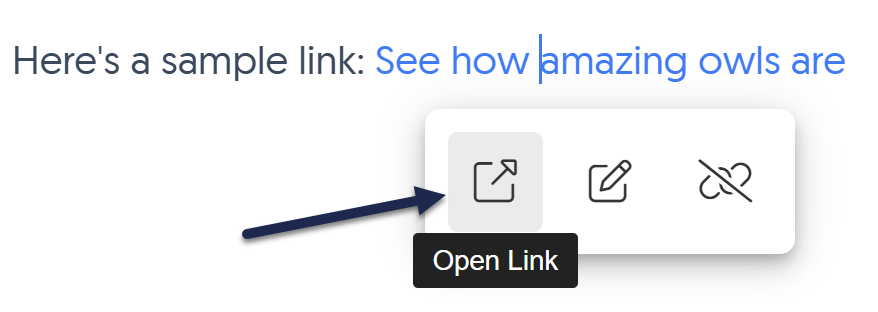 Select Open Link in the hyperlink context menu
 - The link should open in a new tab.

Edit links to other websites
You can edit any link you've already inserted to update any of those link fields:
- Select anywhere in the text of the link to display the link context menu.
- Select Edit Link (a square icon with a pencil in it).
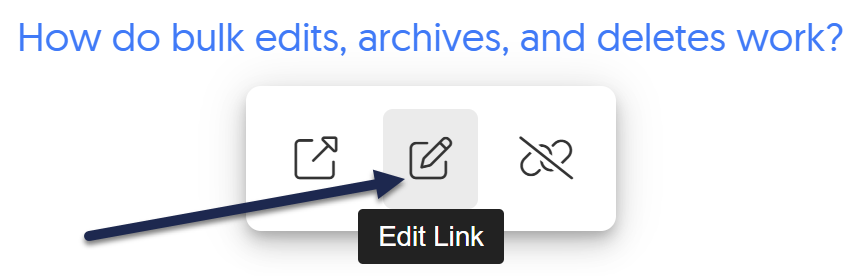 Select Edit Link to make changes to the hyperlink
 - Make any changes you need and select Update.
Remove links
If you want to remove a link from your article, we recommend unlinking first and then deleting the text (or not, if you want to keep the text!). To do so:
- Select anywhere in the text of the link to display the link context menu.
- Select Unlink (link icon with a slash through it):
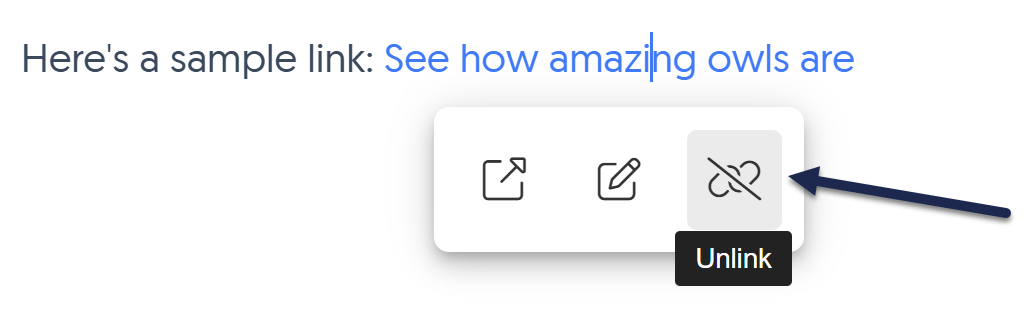 Select Unlink to remove this hyperlink

The link is removed and the text reverts to normal text.