
Fancybox is a JavaScript library for working with and displaying images and multimedia.
KnowledgeOwl pays for an Extended Fancybox Commercial license. As long as you are using it within your knowledge base and are not developing your own commercial products with Fancybox, you do not need to purchase your own license. To purchase your own, visit Fancybox licenses.
Our authors most commonly use Fancybox to add a click to zoom/enlarge functionality to images in their knowledge base, so that's what these instructions will cover.
Here's a sample image handled by Fancybox:
 I am a caption
We support two installation options with Fancybox:
- Run Fancybox in all articles across your entire knowledge base
- Run Fancybox in specific articles of your choice
For both installations, you'll create a snippet to store the Fancybox script and references. You'll then use that snippet in different ways depending on your installation type.
Create the snippet
First, let's create the snippet:
- In the lefthand navigation, go to Snippets. The Snippets page opens.
- Select + Create New Snippet to begin creating a new snippet. If you're unfamiliar with creating snippets, refer to Create a snippet for more information.
- Enter a Snippet Name, such as
Fancybox scriptorzoom in images. - Give it a Snippet Description, like
Add the Fancybox hover/click to zoom treatment to article images.. - In the Snippet Content dropdown, select Code Editor:
- Copy the code below and paste it into the Code Editor:
<link rel="stylesheet" href="https://cdn.jsdelivr.net/npm/@fancyapps/ui@5.0/dist/fancybox/fancybox.css" /> <script src="https://cdn.jsdelivr.net/npm/@fancyapps/ui@5.0/dist/fancybox/fancybox.umd.js"></script> <script> $(function(){ var addToAll = true; var gallery = true; $(addToAll ? '.hg-article-body img' : '.hg-article-body img.fancybox').each(function(){ if($(this).parent("a").attr("href") === undefined){ var $this = $(this); var title = $this.next('.fr-inner').text(); var src = $this.attr('data-big') || $this.attr('src'); var a = $('<a href="#" data-fancybox data-caption="'+title+'"></a>').attr('href', src); $this.wrap(a); } }); if (gallery) $('a[data-fancybox]').attr('data-fancybox', 'group'); Fancybox.bind('[data-fancybox]', { Toolbar: { display: { left: ["infobar"], middle: [ "zoomIn", "zoomOut", "toggle1to1", "rotateCCW", "rotateCW", "flipX", "flipY", ], right: ["slideshow", "thumbs", "close"], }, }, }); }); </script> - In the righthand column of the snippet editor, check the box to Hide from PDFs.
- Refer to Style Fancybox for optional style sections you can also add into this snippet.
- Once you're done making your edits, select Create to finish creating and saving your snippet.
With your snippet created, it's now decision time: do you want to run Fancybox in all articles or only in specific articles?
All articles installation
To run Fancybox in all articles in your knowledge base:
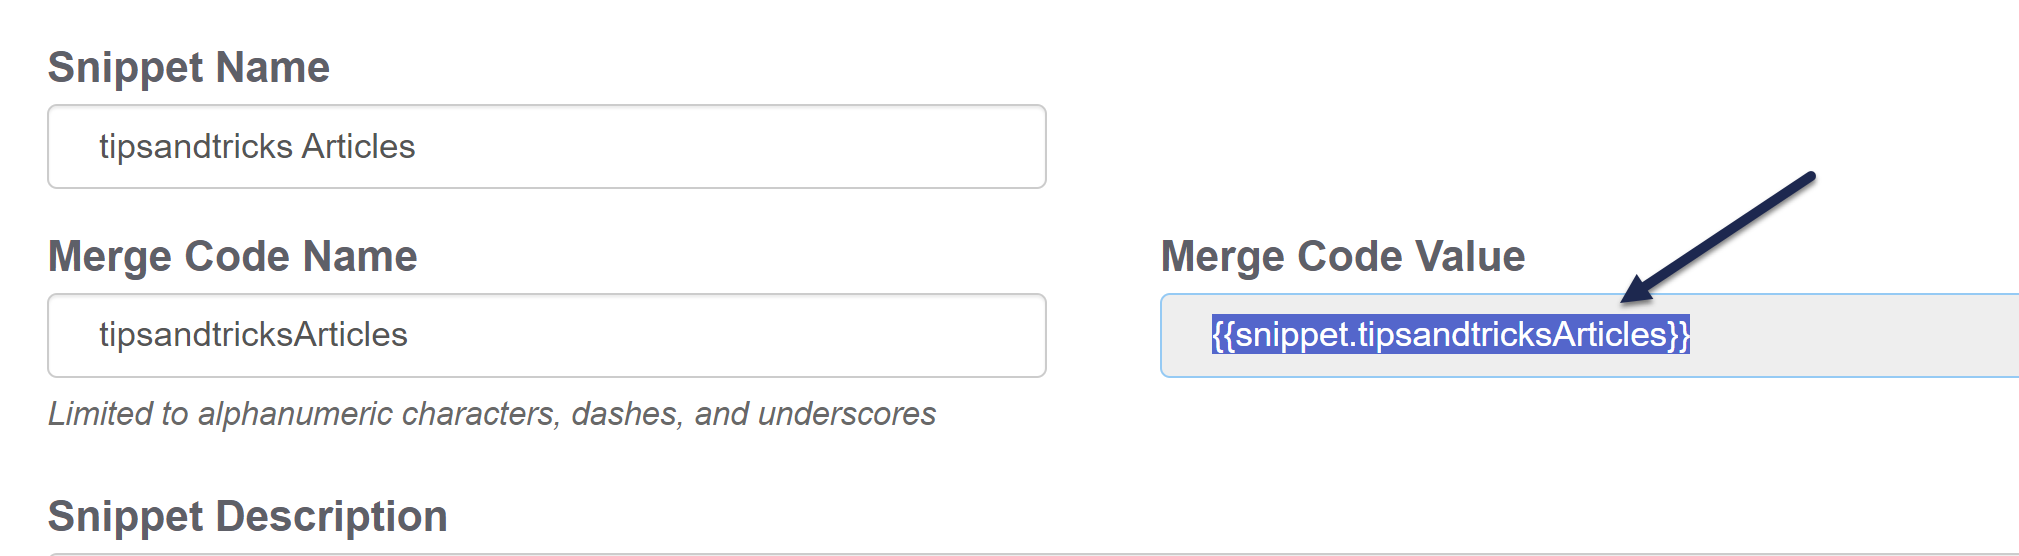
- In the snippet editor, copy the Merge Code Value from the snippet you created in the previous steps.
- Go to Customize > Style (HTML & CSS).
- In the Customize HTML, CSS, and JS section, select Custom HTML.
- Select Article from the Select HTML section to edit dropdown.
- Paste the merge code value you copied in step one into the very bottom of the Article HTML editor.
- Be sure to Save your changes.
Fancybox will now be applied to all images in your knowledge base.
Specific articles only installation
To run Fancybox only in specific articles in your knowledge base, add the snippet to those articles directly:
- Open the article you'd like to apply the Fancybox styles to.
- Place your cursor at the very bottom of your article on a blank line.
- From the editor toolbar, select the Insert Snippet control (two gear cogs icon):
The Add Snippet modal opens.
 The Insert Snippet control
 - Enter part of the name of the snippet you created in the previous steps. The modal autosuggests snippets as you type.
- Select the correct snippet.
- The modal adjusts to display some summary information about the snippet. Be sure you've selected the correct one, and then select Insert Snippet.
- The merge code will be inserted into your article.
- Be sure to Save these changes to your article.

The Fancybox script will now apply to all the images in this article!
There are three common style customizations we've had requests for with Fancybox:
- Adding a drop shadow to the images
- Adding a slight zoom-in effect to the image when someone initially hovers over it
- Turning the cursor into a magnifying glass when the image is hovered over
See each section below for how to apply these customizations:
Drop shadow
To add the drop shadow to the images:
- Open the snippet you created when you installed Fancybox.
- Copy the code below.
<style type="text/css"> a[data-fancybox] img { border: none; box-shadow: 0 1px 7px rgba(0,0,0,0.6); -o-transform: scale(1,1); -ms-transform: scale(1,1); -moz-transform: scale(1,1); -webkit-transform: scale(1,1); transform: scale(1,1); -o-transition: all 0.2s ease-in-out; -ms-transition: all 0.2s ease-in-out; -moz-transition: all 0.2s ease-in-out; -webkit-transition: all 0.2s ease-in-out; transition: all 0.2s ease-in-out; } </style> - Paste it into the snippet you created. You can either do it at the very top or at the very bottom.
- Be sure to Save the changes to your snippet.
Slight magnification of image on-hover
- Open the snippet you created when you installed Fancybox.
- Copy the code below.
<style type="text/css"> a[data-fancybox]:hover img { position: relative; z-index: 999; -o-transform: scale(1.03,1.03); -ms-transform: scale(1.03,1.03); -moz-transform: scale(1.03,1.03); -webkit-transform: scale(1.03,1.03); transform: scale(1.03,1.03); } </style> - Paste it into the snippet you created. You can either do it at the very top or at the very bottom.
- Be sure to Save the changes to your snippet.
If you want to use the magnification AND the drop shadow, you can put them into a single style block in the snippet, provided below for you to copy:
<style type="text/css">
    a[data-fancybox] img {
        border: none;
        box-shadow: 0 1px 7px rgba(0,0,0,0.6);
        -o-transform: scale(1,1); -ms-transform: scale(1,1); -moz-transform: scale(1,1); -webkit-transform: scale(1,1); transform: scale(1,1); -o-transition: all 0.2s ease-in-out; -ms-transition: all 0.2s ease-in-out; -moz-transition: all 0.2s ease-in-out; -webkit-transition: all 0.2s ease-in-out; transition: all 0.2s ease-in-out;
    }
    a[data-fancybox]:hover img {
        position: relative; z-index: 999; -o-transform: scale(1.03,1.03); -ms-transform: scale(1.03,1.03); -moz-transform: scale(1.03,1.03); -webkit-transform: scale(1.03,1.03); transform: scale(1.03,1.03);
    }
</style>
Add magnifying glass on hover
By default, when you hover an image getting the Fancybox treatment, the cursor will turn into a hand icon.
You can change this to another image, like a magnifying glass, by adding the following code to your snippet:
<style>
.hg-article-body a[data-fancybox] img:hover {
  cursor: url('https://dyzz9obi78pm5.cloudfront.net/app/image/id/629e18fd5078ca790f415b03/n/search-solid-2.png'), auto;
}
</style>
If you don't want to use a magnifying glass, you can upload the image you'd like to use to your LIbrary > Files, copy the URL, and swap out the URL in row 3 (just be sure your new URL is still within parentheses and ('single quotes').
As with the other style options, you can add this within the same style block as the rest of the code.
In our installation script, the Fancybox.bind section contains a Toolbar section that sets which toolbar controls are displayed on the left, middle, and right of the toolbar. (You should be able to figure out what most of these are just from playing with one of the images in the other tabs.)
Refer to the Fancybox toolbar documentation for a full list of options.
We've included a subset of the available options in our example; most of those are in the "middle" portion of the display. You can tweak where the controls go by moving them to a different section, or change the controls entirely by adding or removing new options.
All the instructions up to this point have assumed you wanted to apply Fancybox to most--if not all--of the images in the article(s) where you're using it.
But what if you'd rather only apply Fancybox to specific images?
You can modify the installation script slightly and then use the Code View in Article Editor to identify which images should get the Fancybox treatment by adding the "fancybox" class to those images.
See below for more detailed instructions.
Modified installation instructions
Follow the overall Install Fancybox instructions, with one change:
In row 5, change var addToAll = true to false.
The top of your modified installation script should look like this:
<link rel="stylesheet" href="https://cdn.jsdelivr.net/npm/@fancyapps/ui@5.0/dist/fancybox/fancybox.css" />
<script src="https://cdn.jsdelivr.net/npm/@fancyapps/ui@5.0/dist/fancybox/fancybox.umd.js"></script>
<script>
   $(function(){
       var addToAll = false;
       var gallery = true;
       $(addToAll ? '.hg-article-body img' : '.hg-article-body img.fancybox').each(function(){
Add fancybox class to images in Article Editor Code View
Once you have your snippet created and added wherever is appropriate:
- Open the article containing the images you'd like to use Fancybox for editing.
- Highlight some text either before or after the image in the editor (this is just for ease of navigating the HTML!).
- Select the </> Code View control in the editor to toggle to Code View:
 The Code View control in the Article Editor
 - For images with no captions:
- The image HTML should be formatted like:
<img class="img-responsive" src="https://xxxxxxxxxxxxxxxx.cloudfront.net/app/image/pid/xxxxxxxxxxxxxxxxxxxxxxx/id/xxxxxxxxxxxxxxxxxxxxxxxx/n/my-image-name.png" style="xxxx"> - Add a space and the word
fancyboxbetween theimg-responsiveclass and the closing". So the example above would become:<img class="img-responsive fancybox" src="https://xxxxxxxxxxxxxxxx.cloudfront.net/app/image/pid/xxxxxxxxxxxxxxxxxxxxxxx/id/xxxxxxxxxxxxxxxxxxxxxxxx/n/my-image-name.png" style="xxxx"> - Save your article.
- The image HTML should be formatted like:
- For images with captions:
- The image HTML should be formatted like this:
<div class="fr-img-space-wrap"><span class="fr-img-caption img-responsive" style="xxxx"><span class="fr-img-wrap"><img src="https://xxxxxxxxxxxxxxxx.cloudfront.net/app/image/pid/xxxxxxxxxxxxxxxxxxxxxxx/id/xxxxxxxxxxxxxxxxxxxxxxxx/n/my-image-name.png"><span class="fr-inner">I'm a caption</span></span></span></div> - between
imgandsrc=, addclass="fancybox". So the example above would become:<div class="fr-img-space-wrap"><span class="fr-img-caption img-responsive" style="xxxx"><span class="fr-img-wrap"><img class="fancybox" src="https://xxxxxxxxxxxxxxxx.cloudfront.net/app/image/pid/xxxxxxxxxxxxxxxxxxxxxxx/id/xxxxxxxxxxxxxxxxxxxxxxxx/n/my-image-name.png"><span class="fr-inner">I'm a caption</span></span></span></div> - Save your article.
- The image HTML should be formatted like this:
There are some cases where you might want to exclude some images from the Fancybox treatment: maybe you're displaying images of icons, for example, that people would have no reason to zoom in on.
For this, you can create a class that you'd add to the images in the article's Code View, and adjust the script to exclude that class.
We've done this using a "no-magnify" class.
This involves one adjustment to row 7 of the script to add :not(.your-new-class) into the first part of the statement. Here's a sample using no-magnify as our new class:
$(addToAll ? '.hg-article-body img:not(.no-magnify)' : '.hg-article-body img.fancybox').each(function(){
Be sure to Save those changes to your snippet.
Then, for articles that contain images you don't want magnified:
- Highlight text close to the image (this is just so you can easily find the code you need in the following steps).
- Select the </> control in the editor to toggle the editor to Code View.
 The Code View icon in the editor
 - Look for the opening <img tag for the image you want, which should have something like
<img class="img-responsive fr-fil fr-dib"in it. - In the existing class list, add the new class you added to the script. So if we use "no-magnify", the code for the img would now look like:
<img class="img-responsive fr-fil fr-dib no-magnify"- Be sure the additional class is still within the "" wrapping all of the classes, and that it does not have a period in front of it.
- Be sure to Save your changes.

Any images with that class will be ignored by the Fancybox script.
Follow these instructions only if you already had Fancybox added to your knowledge base.
Our previous instructions for Fancybox were for a much older version (version 3.5.6 instead of version 5!).
Our older instructions also generally advised you to add the script to Customize > Style (Custom HTML & CSS) > Customize HTML, CSS, and JS > Custom HTML > Article and the CSS to Custom CSS on that page, though the script may also be added in Custom Head.
We recommend shifting to this all-in-one-snippet approach for easier maintainability moving forward.
The best way to upgrade is to follow the steps in Install Fancybox and remove the existing code and CSS from Customize > Style (Custom HTML & CSS) > Customize HTML, CSS, and JS.
If you don't want to do that, we recommend still copying the full code from Install Fancybox and replacing the Fancybox code in Customize > Style (Custom HTML & CSS) > Customize HTML, CSS, and JS (in either Custom HTML > Article or Custom Head) with the updated script.
Here are some key components to be sure you update:
- Update the URLs that appear in the first two lines of the script: the stylesheet and Fancybox jss references. You'll need these to point to version 5.0 rather than 3.5.6. These are lines 1 and 2 in the installation script.
- Update the var title line of the script: In our Legacy Editor, captions were wrapped in a figcaption element. If you've only ever used Modern Editor, you won't have any instances of that caption format, but our existing script still referenced it. You have two options:
- If all your authors have only ever used the Modern Editor, you can update row 11 from
var title = $this.next('figcaption').text();tovar title = $this.next('.fr-inner').text(); - If any of your authors use the Legacy Editor, update row 11 from
var title = $this.next('figcaption').text();tovar title = $this.next('.fr-inner').text() || var title = $this.next('.fr-inner').text();
- If all your authors have only ever used the Modern Editor, you can update row 11 from
- Remove the fancybox references to titlePosition: There were two references to these in the old script:
- The variable defined in row 7:
var titlePosition = 'inside'; - And this portion of the script, after row 18:
       $('a[data-fancybox]').fancybox({
           titlePosition: titlePosition
- The variable defined in row 7:
- Add the Fancybox.bind code in the second half of the script: This code replaces the second titlePosition script. These are lines 20-36 in the updated installation script. Review the full installation script to be sure you have everything you need and the correct closing parentheses and brackets!
Why do I need this?
The toolbar and controls won't show once you click on an image if you don't add this code.
Troubleshooting
If you add the upgraded script, select an image in the live knowledge base, and no zoomed-in image appears, this usually means that there are still references to the old Fancybox version somewhere in your knowledge base.
We recommend checking these places for the older links:
- Customize > Style (Custom HTML & CSS) > Customize HTML, CSS, and JS > Custom HTML > Article: Scripts or references directly in the HTML or within snippets.
- Customize > Style (Custom HTML & CSS) > Customize HTML, CSS, and JS > Custom Head: Scripts or references directly in the HTML or within snippets.
Final check
Be sure you've commented out or completely removed these old stylesheet and Fancybox jss references anywhere they appear:
<link rel="stylesheet" href="https://cdnjs.cloudflare.com/ajax/libs/fancybox/3.5.6/jquery.fancybox.min.css" />
<link rel="stylesheet" type="text/css" media="screen" href="//cdnjs.cloudflare.com/ajax/libs/fancybox/1.3.4/jquery.fancybox-1.3.4.css" />